Day 8 challenge
Goal: provide the tools your agent needs to accomplish its goalsTheme: community week - enabling agent capabilitiesTime investment: ~20 minutes
What you’ll accomplish today
- Configure your deployed agent with the right connections
- Master the agent configuration interface and customization options
- Understand connection authorization flow and management
- Learn the difference between connections and tools
- Explore your agent’s specific tool capabilities with its new connections
- Learn to iterate on agent instructions and model selection
Understanding connections and tools
Before diving into configuration, it’s important to understand the distinction:Connection: the authenticated integration to a service (for example: “Google sheets connection”)Tools: the specific actions your agent can perform once connected (for
example: “create spreadsheet”, “update row”, “fetch data”)
- Connection: OAuth authentication to your Google account
- Tools unlocked: Create, edit, and manage spreadsheets, rows, and data.
- Connection: Authentication to your GitHub account
- Tools unlocked: Create and manage repositories, pull requests, issues, and more.
Step 1: Explore your agent’s configuration interface
Your agent from yesterday is now deployed in your sidebar, but let’s dive into its configuration options. The agent interface gives you powerful customization capabilities.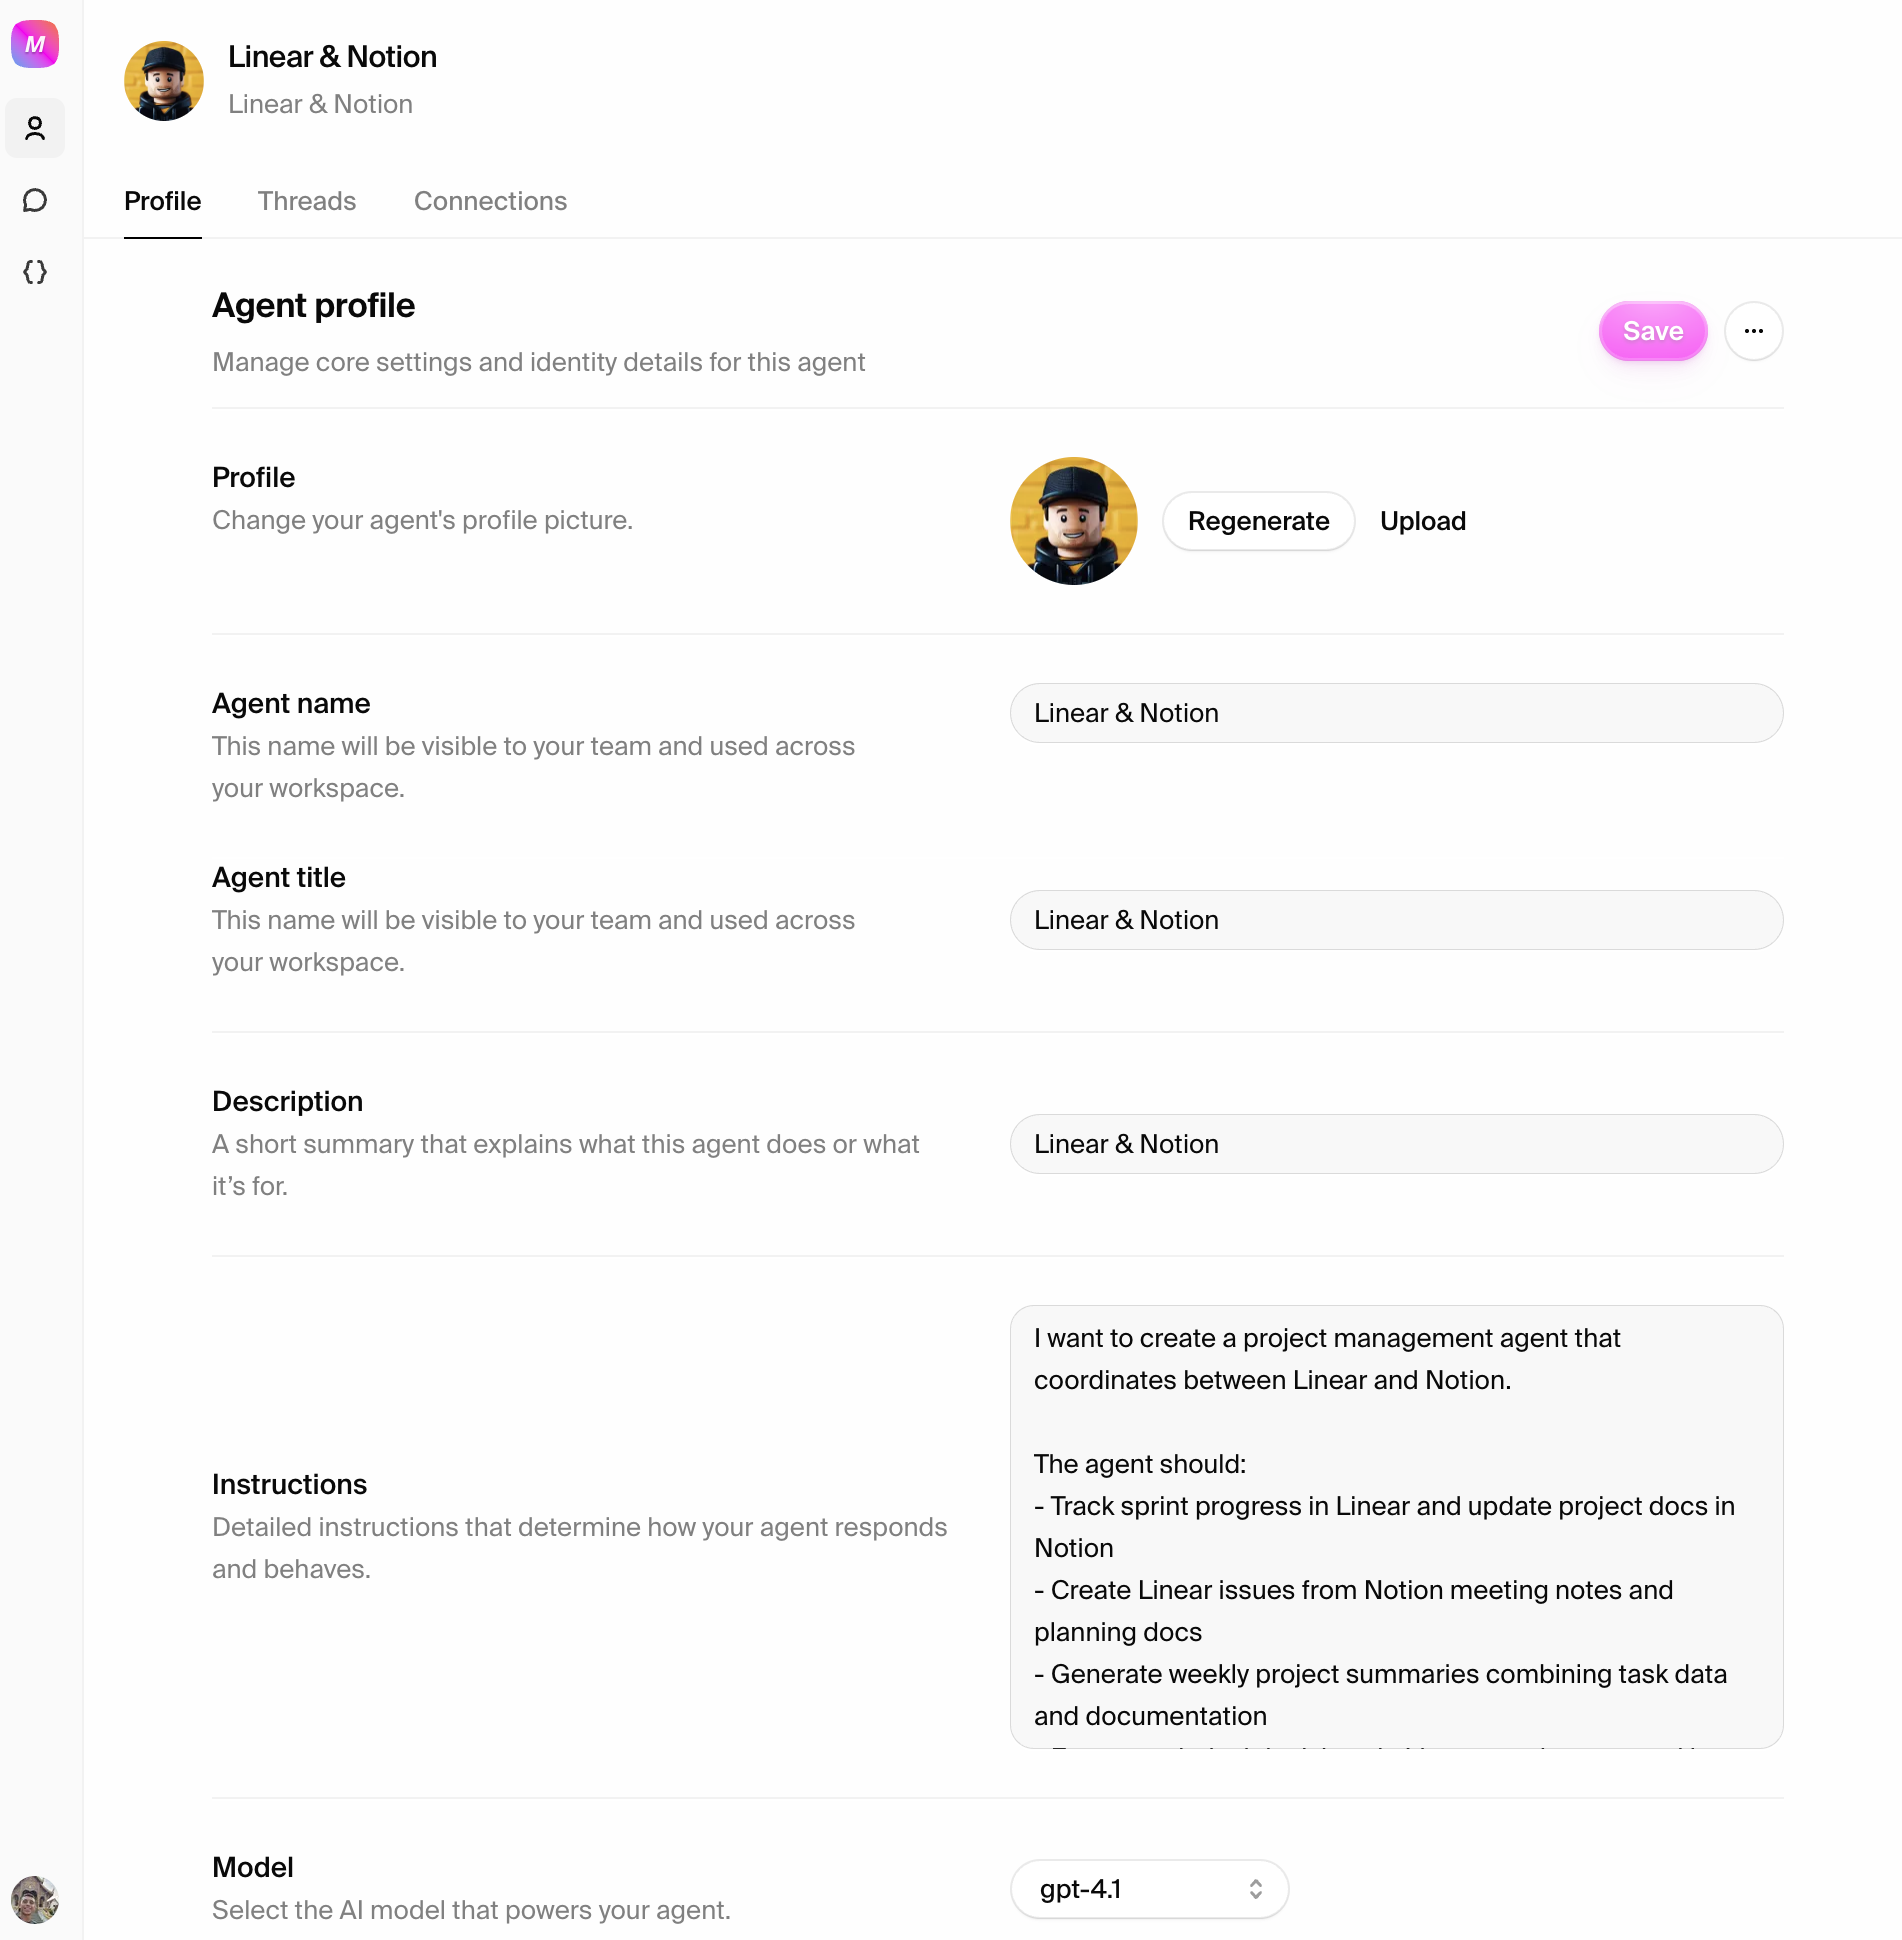
- Click on your agent in the sidebar to open its thread view
- Click the agent’s name at the top to access the “About” section
- Review the agent details including its description, instructions, and current model
- Agent Instructions: Edit the system prompt that guides your agent’s behavior
- Model Selection: Currently set to GPT-4.1 (default), but you can experiment with other models
- Agent Description: Update how your agent presents itself
- Connection Management: Add and configure the services your agent can access
Step 2: Configure agent-specific connections
Now let’s give your agent access to the services it needs. There are two types of connections: agent connections (specific to your agent) and workspace connections (shared across all agents). Let’s start with agent-specific connections.
- Navigate to your agent by clicking it in the sidebar
- Click the agent’s name at the top to open the About section
- Click the Connections tab to see available connections for this agent
- Browse available connections or search for specific services your agent needs
- Click “Add Connection” for services that align with your agent’s purpose
- Complete the OAuth flow when prompted for authentication
- Verify successful connection with the green checkmark indicator
Agent connections are specific: connections you add here are only
available to this particular agent. If you want connections available to all
agents in your workspace, you’ll need to configure workspace connections
(covered in Step 3).
- Code-related agents: GitHub connection (unlocks repository management, PR creation tools)
- Marketing agents: HubSpot connection (unlocks CRM management, campaign tracking tools)
- Research agents: Google Drive connection (unlocks document access, creation tools)
- Operations agents: Google Sheets connection (unlocks spreadsheet management, data analysis tools)
Start focused: add 2-3 connections initially rather than overwhelming your
agent with too many options. You can always add more as you discover new use
cases.
Step 3: Configure workspace-level connections
In addition to agent-specific connections, you can configure workspace connections that are shared across all agents in your workspace.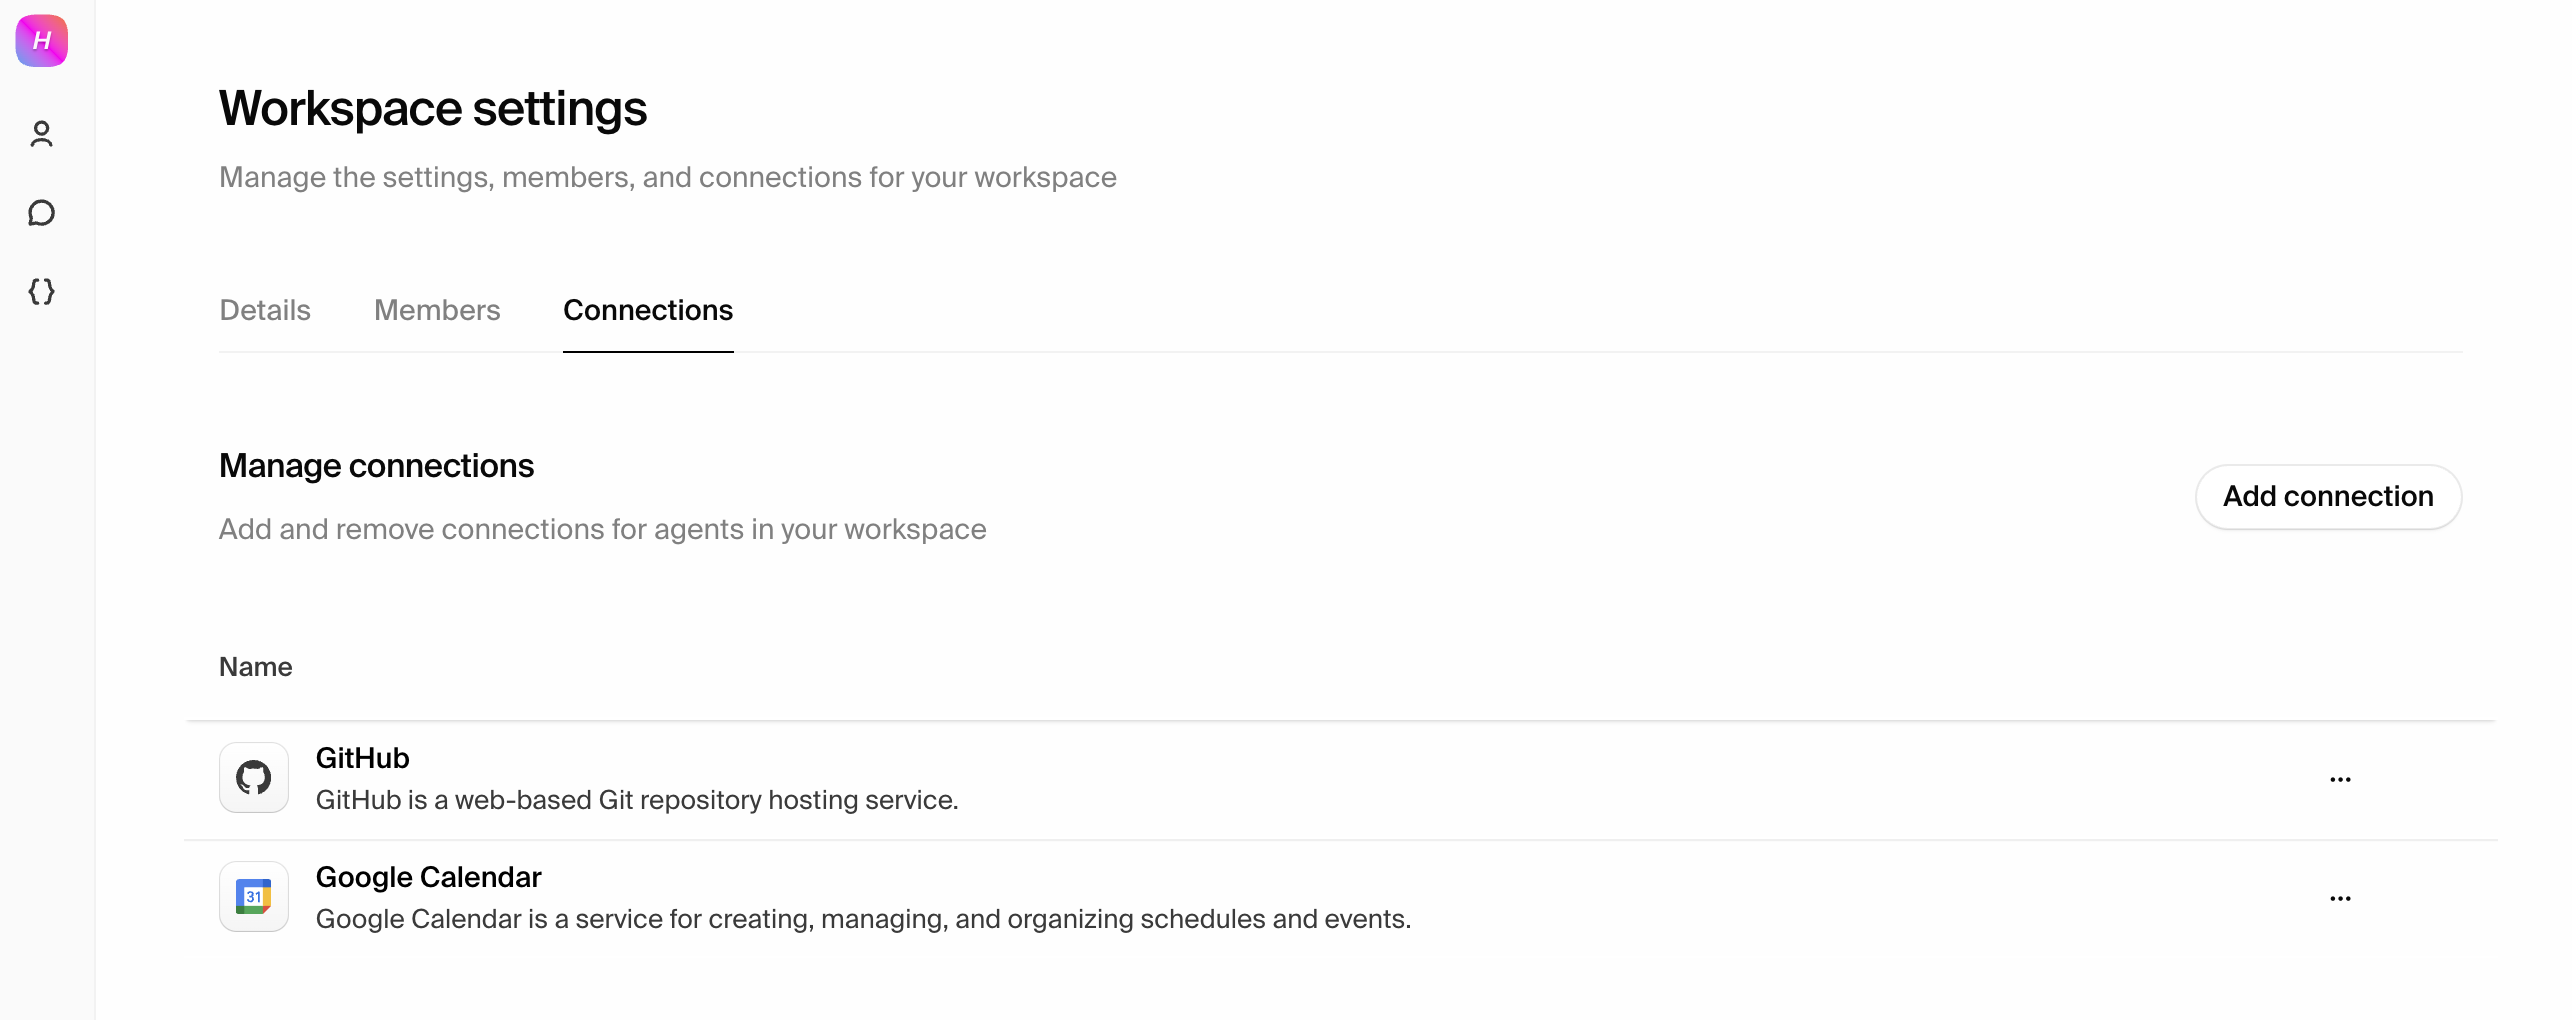
- Navigate to Workspace Settings from your profile menu (click your avatar in the top right)
- Click the Connections tab to see all available workspace-wide integrations
- Add connections that multiple agents might need to share
- Complete authentication for each service you connect
- Manage authentication status and review permissions
When to use workspace vs. agent connections: - Workspace connections:
for services that multiple agents need to access (like company Google Drive or
Slack) - Agent connections: for services specific to one agent’s role
(like a specific GitHub repository for a code agent)
Step 4: Test your agent’s new tool capabilities
Now that your agent has connections, let’s explore what specific tools it can use. Start with simple requests to understand how it uses its new capabilities. Test basic tool awareness:- List available connections and explain the services it can access
- Describe specific tools it can use with each connection
- Suggest workflows based on your agent’s role and available tools
- Evaluates available tools for the task at hand
- Plans its approach using the specific tools you’ve provided
- Executes actions across the integrated services
- Reports results and suggests next steps
Step 5: Customize your agent’s instructions and model
The configuration interface gives you direct control over your agent’s behavior. You can edit the agent’s prompt and experiment with different models right from the About section. Direct customization options:- Edit Agent Instructions: Click “Edit” to modify the system prompt that guides your agent’s behavior
- Change Model Selection: Switch from the default GPT-4.1 to experiment with other models
- Update Description: Adjust how your agent presents itself
- Tool usage patterns: Guide which tools to prioritize for specific tasks
- Tone adjustments: Make the agent more formal, casual, technical, or business-focused
- Process preferences: Specify how the agent should approach tasks
- Communication style: Adjust how the agent reports progress and results
Direct control: unlike other platforms, you have full access to customize
your agent’s instructions and model selection. This gives you complete control
over behavior and performance.
What you’ve accomplished
In 20 minutes, you’ve mastered agent configuration and tool enablement: Interface mastery: learned to navigate and customize your agent through the About section, including instructions and model selection Connection configuration: successfully added agent-specific connections through the agent’s Connections tab and learned to configure workspace-wide connections through Workspace Settings Tool capability exploration: tested your agent’s new abilities and discovered what specific tools are available with each connection Direct customization: learned to edit agent instructions and experiment with different models for optimal performance Optimization awareness: understand when and how to get community support for advanced optimizationThe transformation from advisor to executor
Today’s work establishes the foundation for powerful agent automation: Before connections: your agent could only provide advice and suggestions based on its training After connections: your agent can take real actions with specific tools, access live data, and integrate with your actual workflows and business systems This transformation from “advisor” to “executor” is what makes Hypermode Agents different from traditional AI assistants.Tomorrow - Day 9
Transform your successful interactions into reusable tasks. Learn to capture
institutional knowledge and scale your agent’s capabilities across your
organization.
Pro tip for today
Now that your agent has connections and tools, spend some time exploring:Time to complete: ~20 minutes Skills learned: agent configuration interface, connection management for both agent-specific and workspace connections, understanding connections vs. tools, agent instruction editing, model selection, tool capability exploration and testing Next: day 9 - Create reusable tasks from successful workflows