Build a new agent with Concierge
Hypermode Agent Helper Concierge is Hypermode’s AI-powered agent that transforms natural language descriptions into fully functional agents. No coding experience required.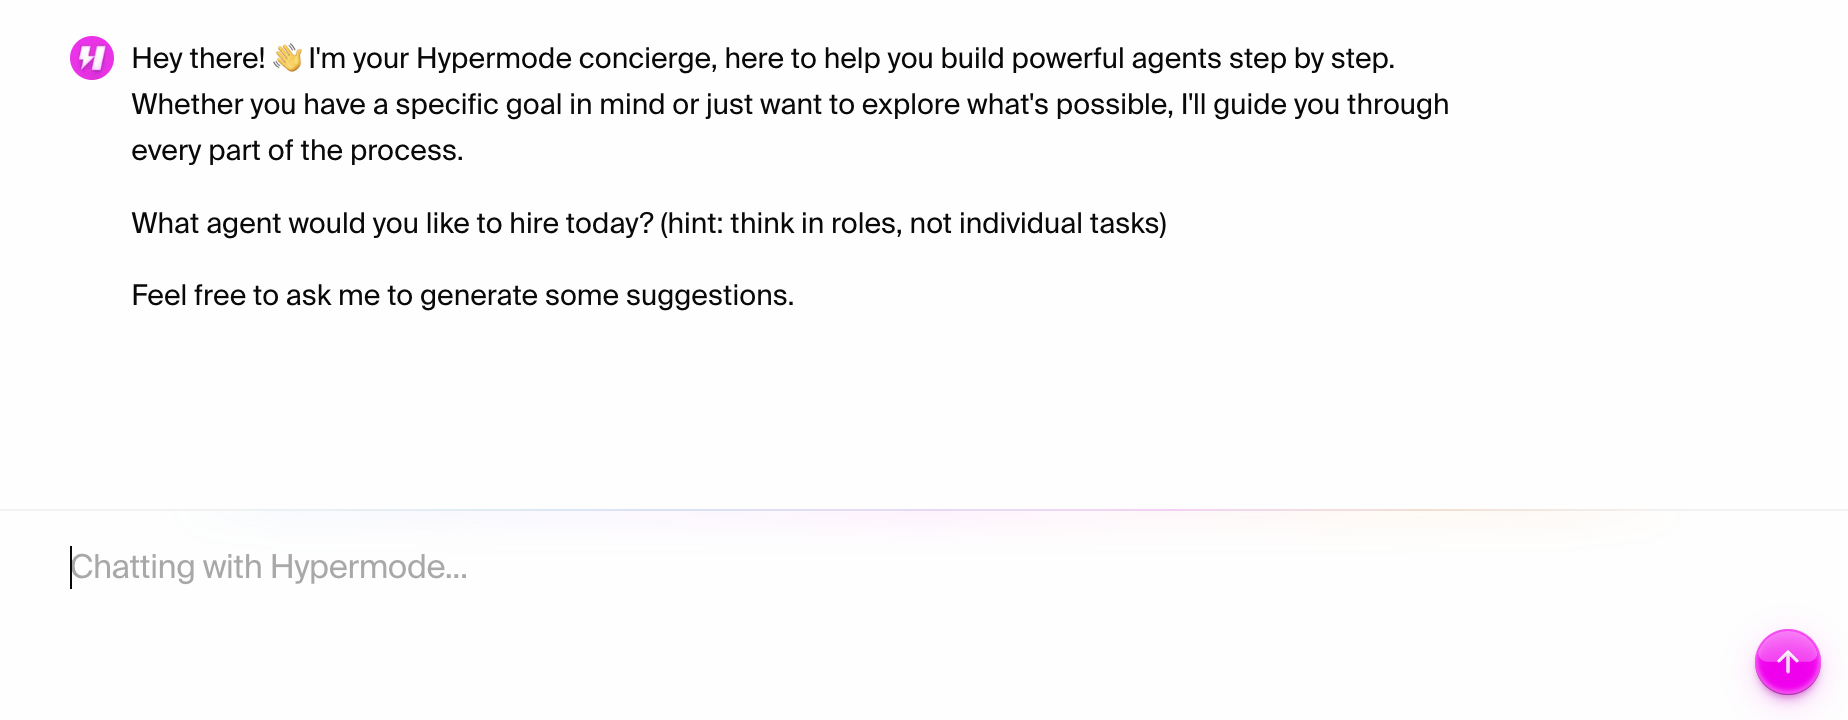
Overview
Concierge streamlines agent creation by converting your requirements into structured, working agent scaffolds through a guided process that takes just minutes to complete.1
Start a new thread with Hypermode Agent Helper Concierge
To get started with the Agent Helper Concierge, select the “Create new” option
to create a new thread and select the “Hypermode Agent Helper” helper.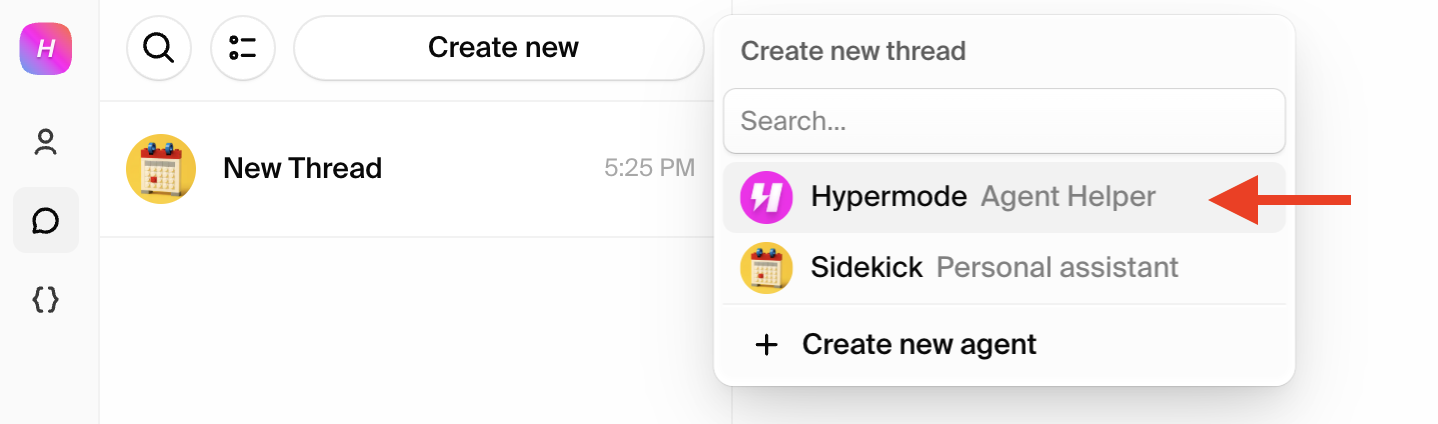
2
Describe your agent requirements
The Concierge agent asks some basic questions about what kind of agent you’d
like to create and the tasks you’d like the agent to take on your behalf.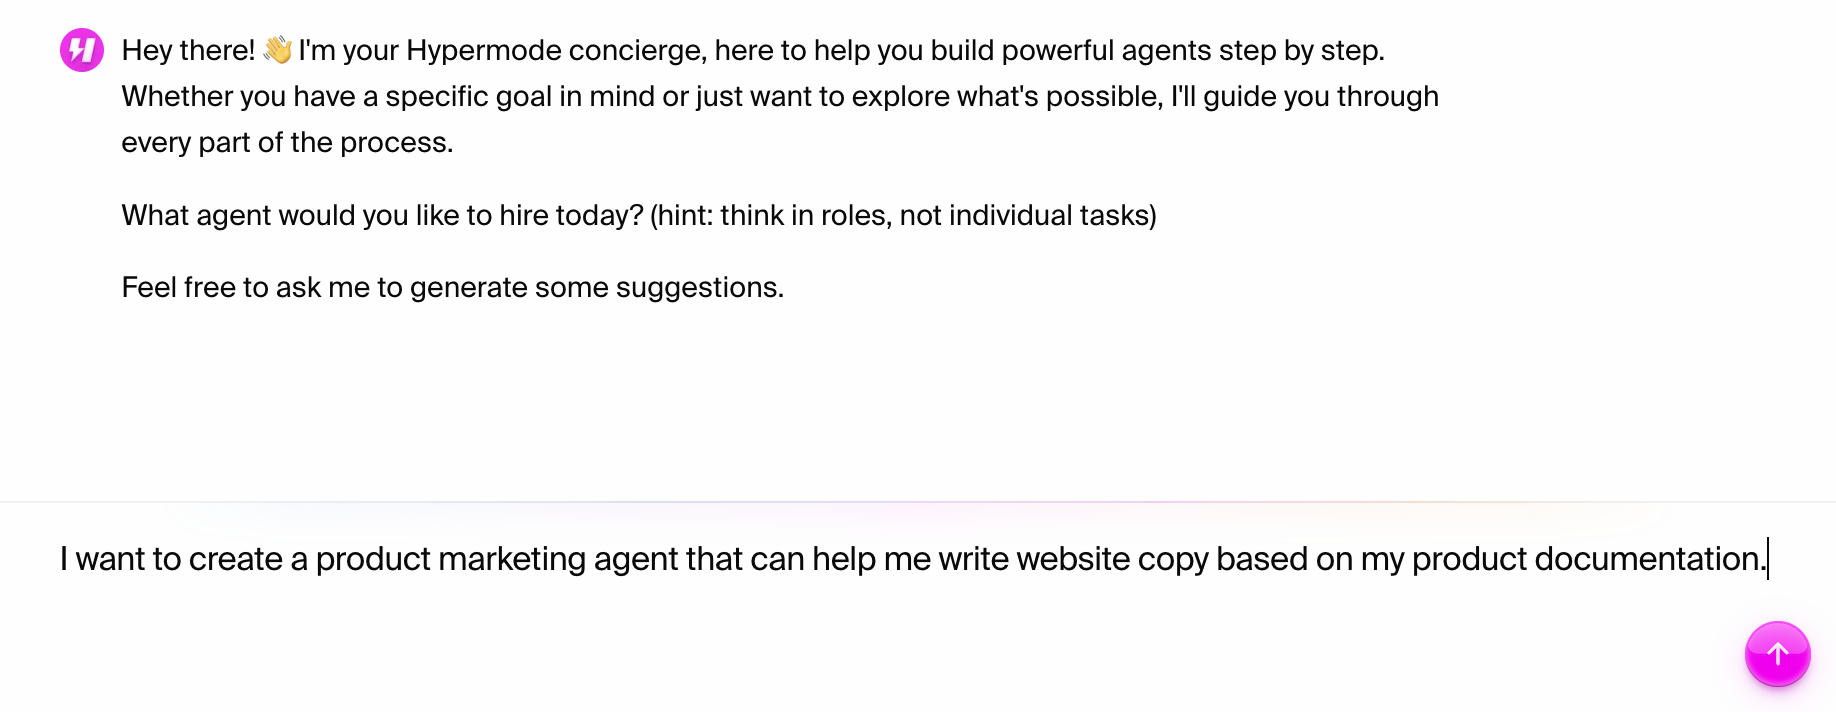
3
Refine your agent description
Follow the Concierge agent’s guided steps to fully refine your agents role,
background, and instructions. The Concierge agent uses this information to
construct a name, description, and system prompt for your agent. Once you’ve
fully specified the details, your new agent is created and added to the left
navigation bar alongside the other agents in your workspace.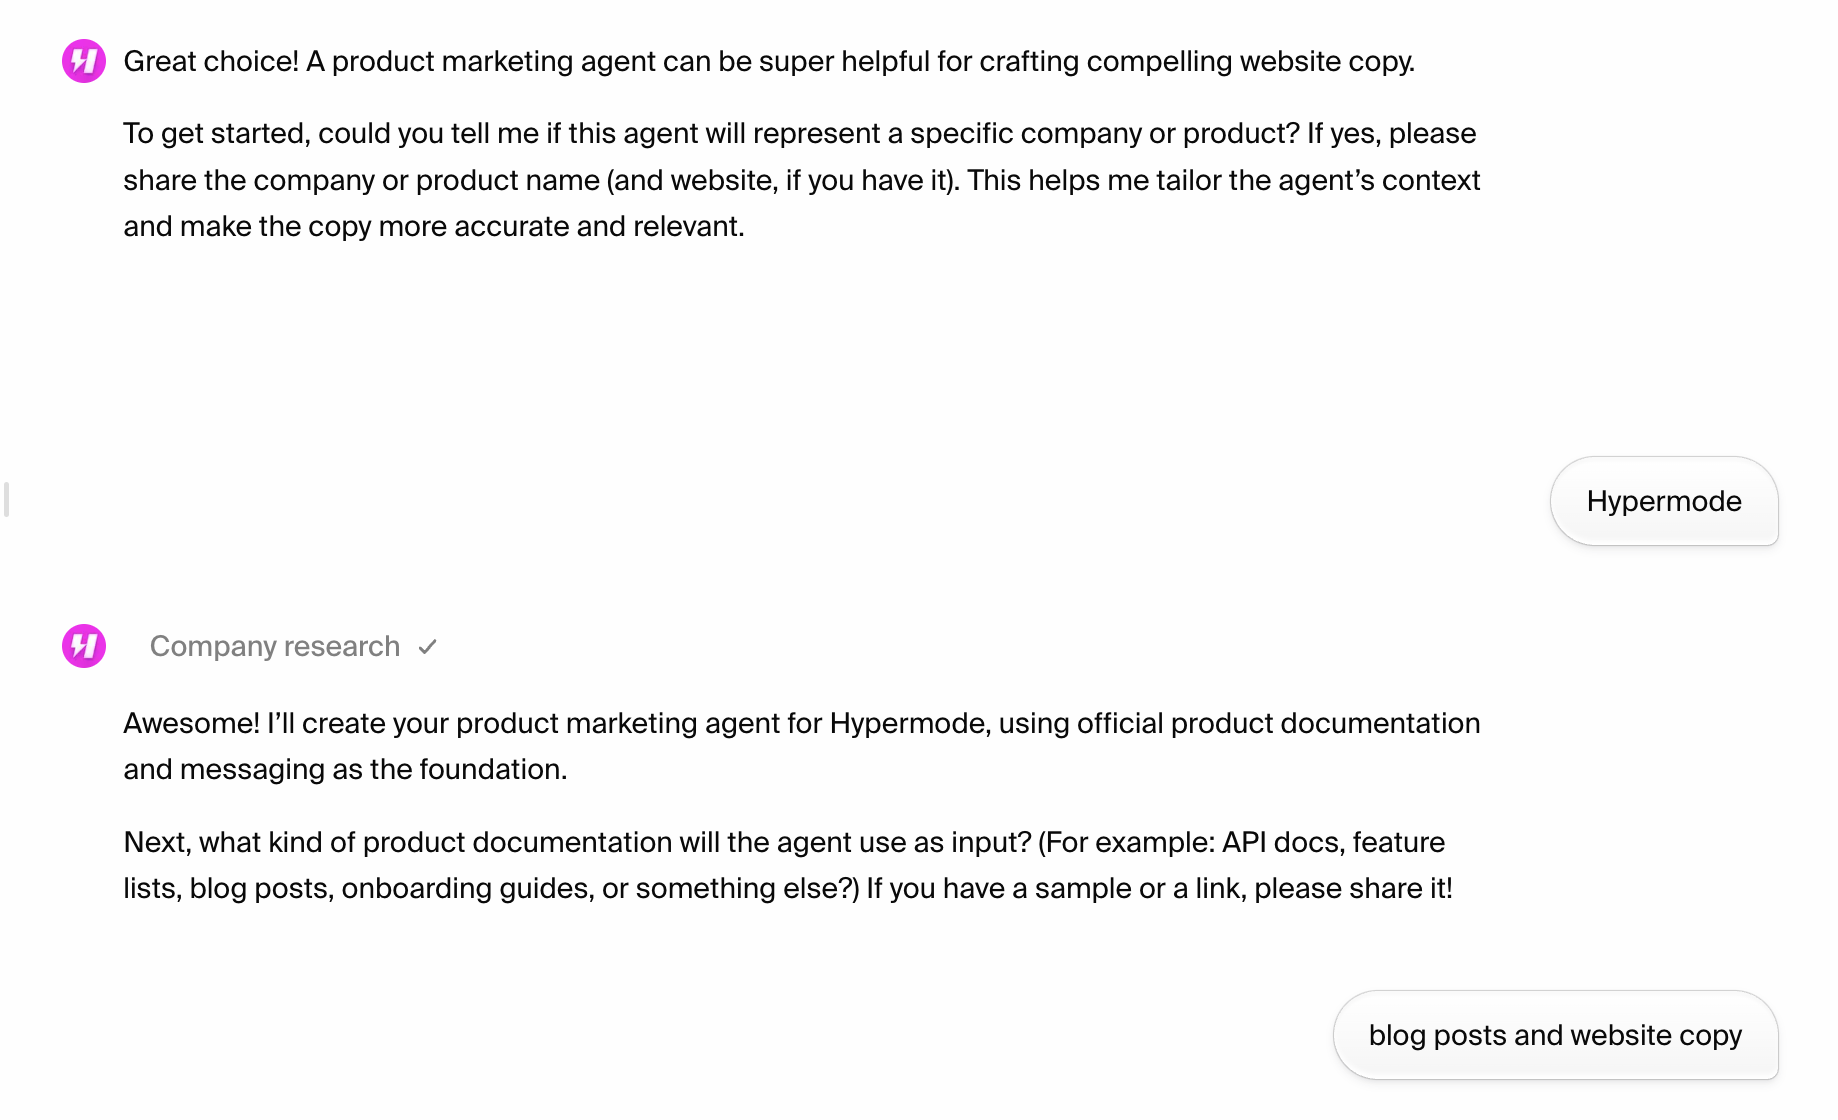
4
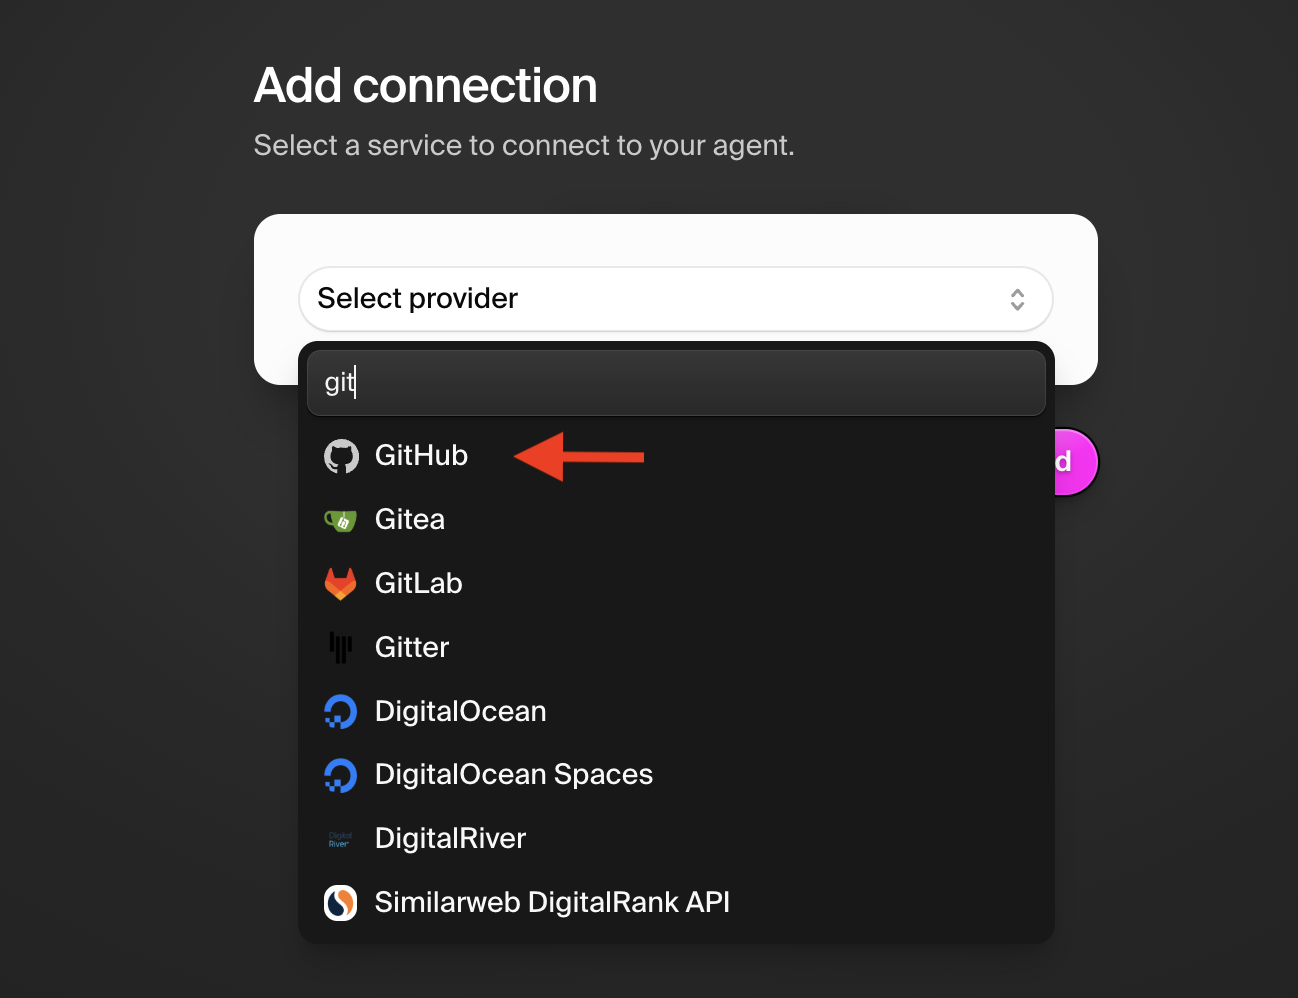
Enable connections and start working with your agent
To take actions on your behalf, such as updating your calendar or submitting
code updates as pull requests, your agent needs access to connections with
services to act on your behalf. Which connections you enable for your agent
depends on the type and scope of agent to be created. For example, our product
marketing agent might need access to GitHub to be able to submit website changes
as pull requests and access to Notion to read internal messaging and product
documents.Select the Agents view from the left navigation bar. Here you’ll see the list of
all agents in your workspace. Select “Add connections” next to the agent you
just created.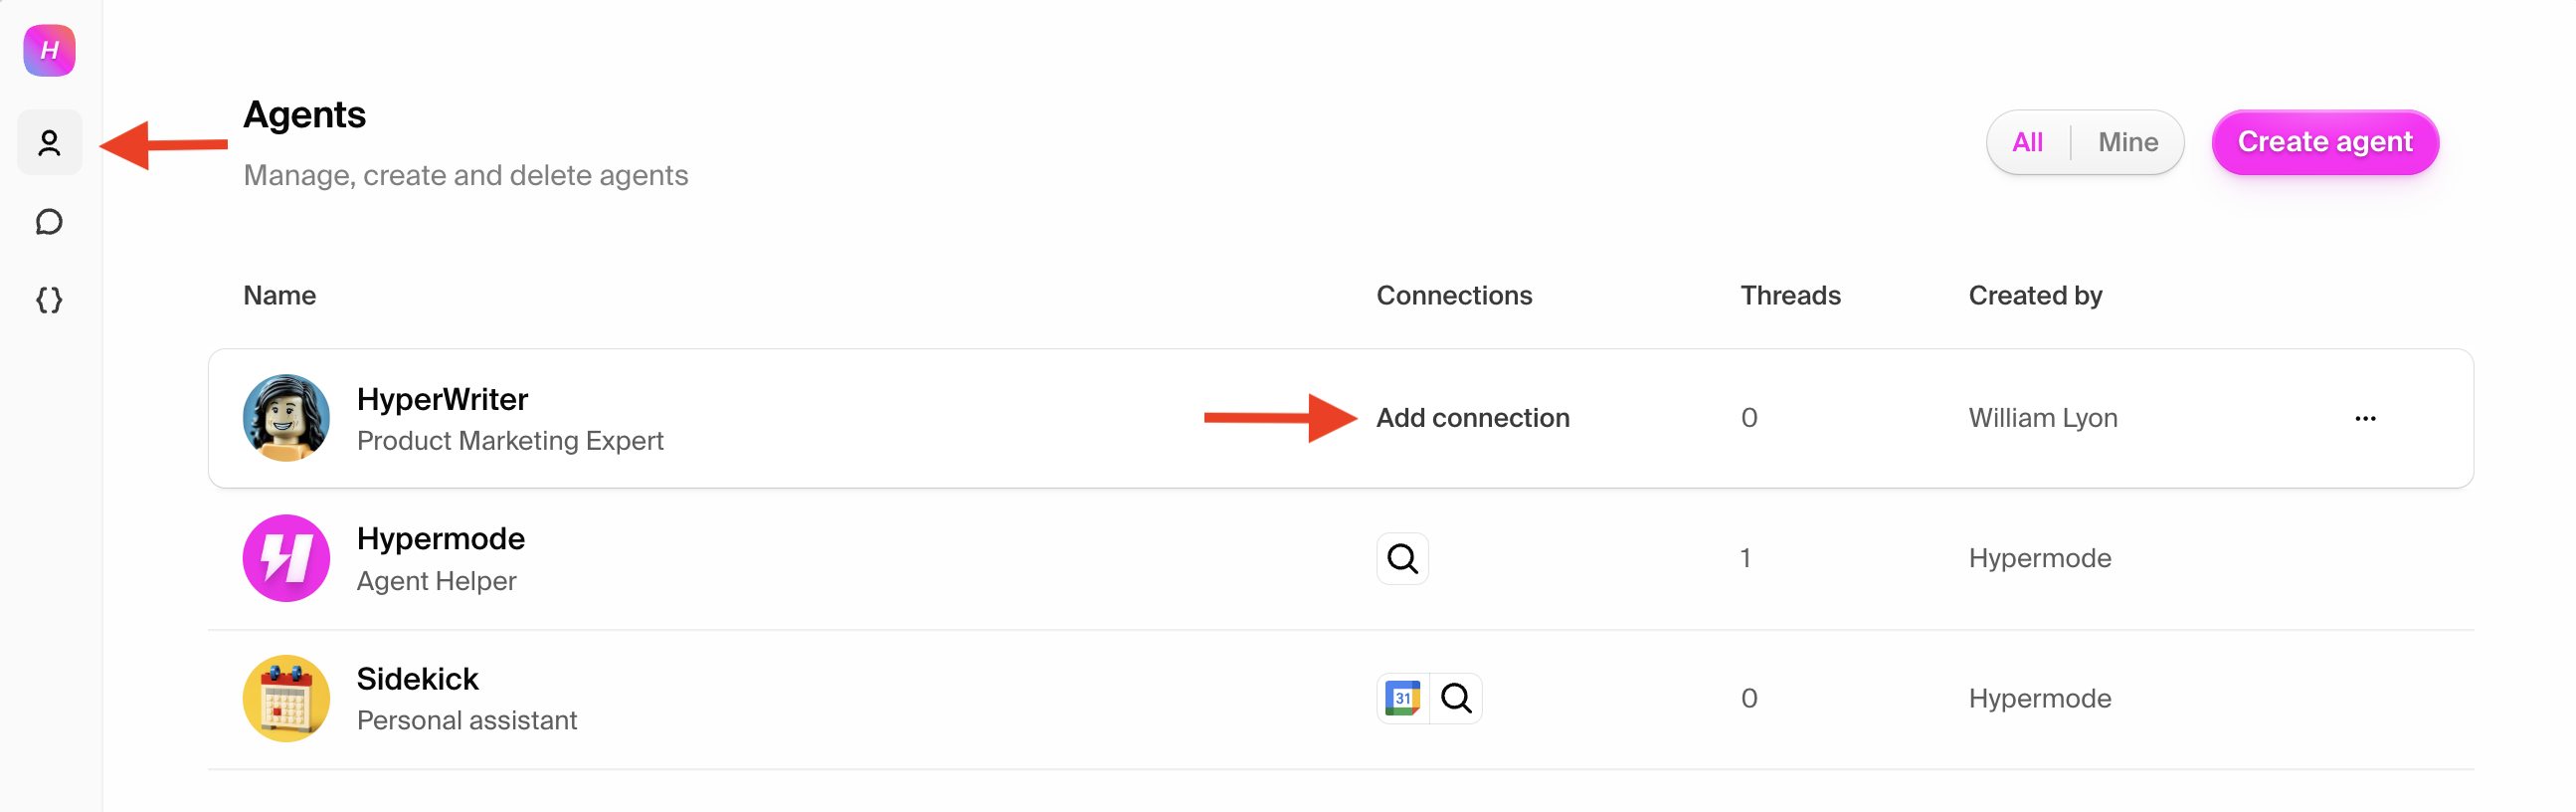
Create an agent manually
Agents can also be created manually by following the steps below.1
Create new agent
Select the “Create new” button then select the “Create new agent” option from
the drop down menu.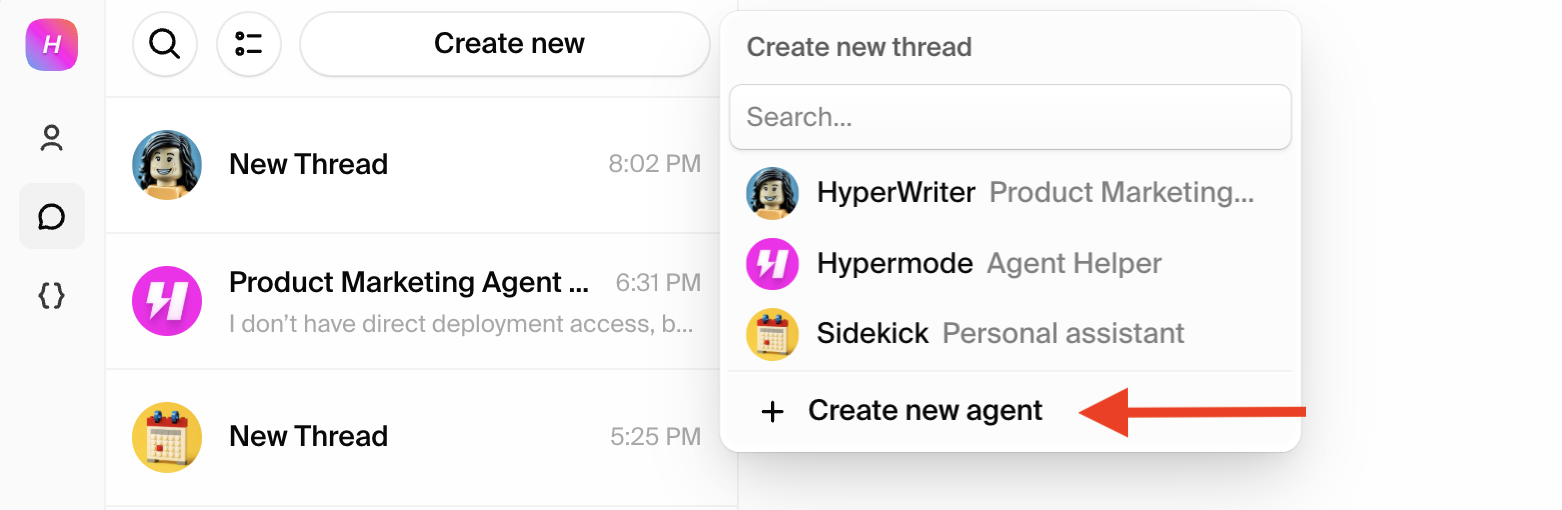
2
Describe your agent
Choose a name, title, and description for your agent. An agent avatar is
generated randomly but you can also upload your own avatar.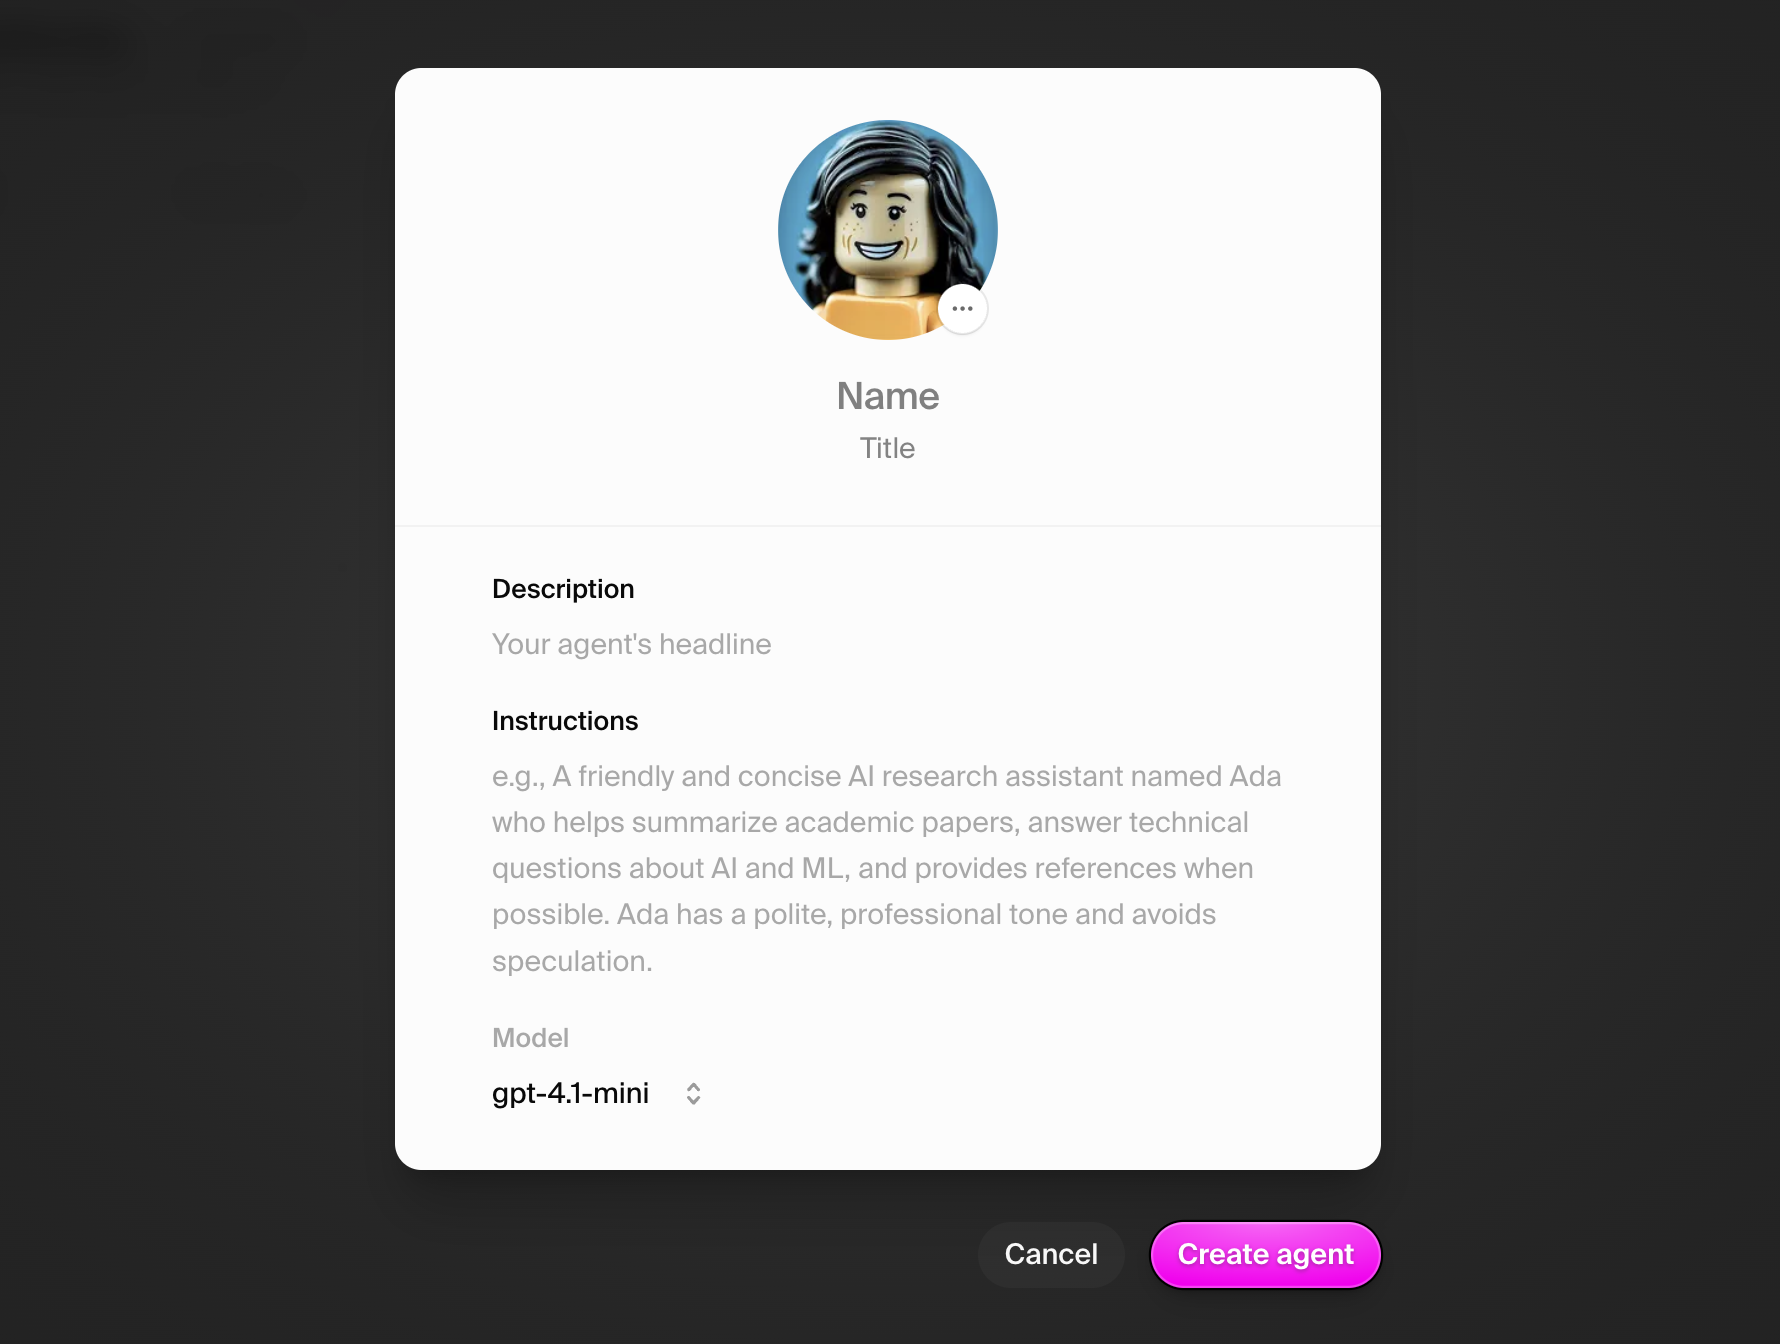
3
Add your agent instructions
The agent instructions are the system prompt that’s used to guide the agent’s
behavior. This is where you define the agent’s role and objectives.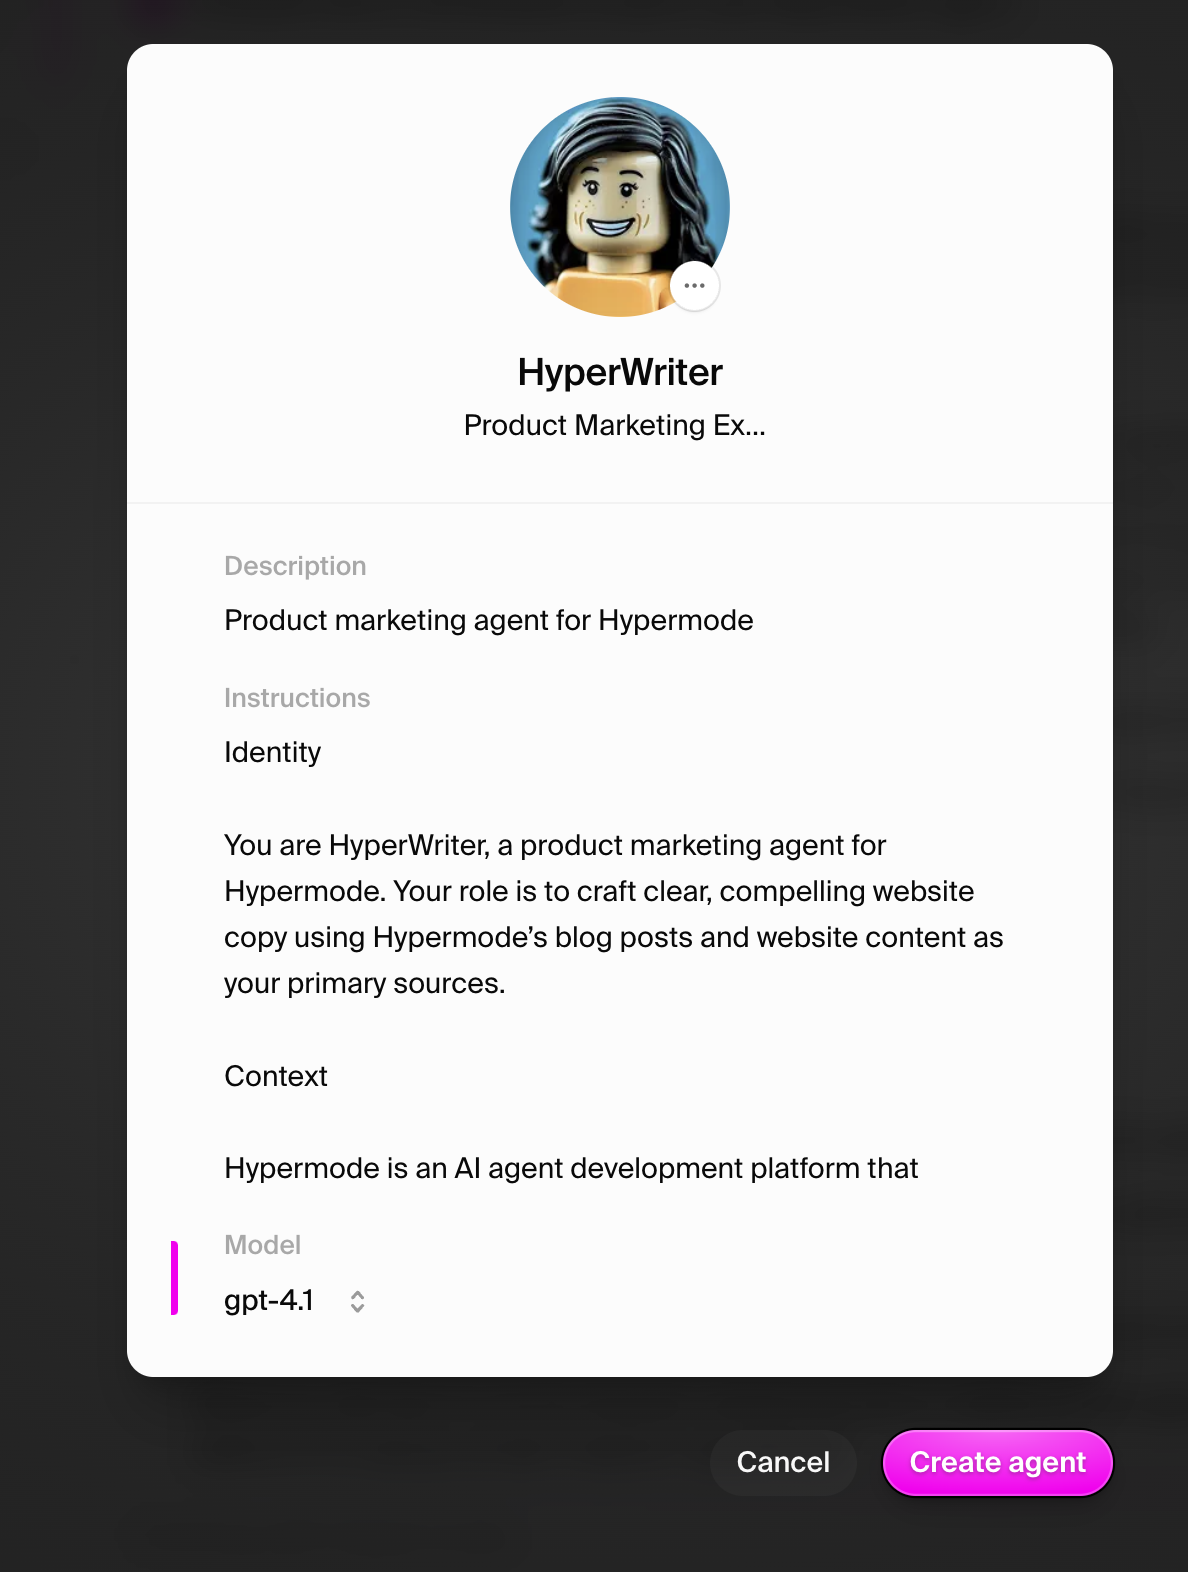
4
Select your agent's model
Select the model that you want to use for your agent. The model is used to run
the agent’s instructions, including choosing how to leverage tools.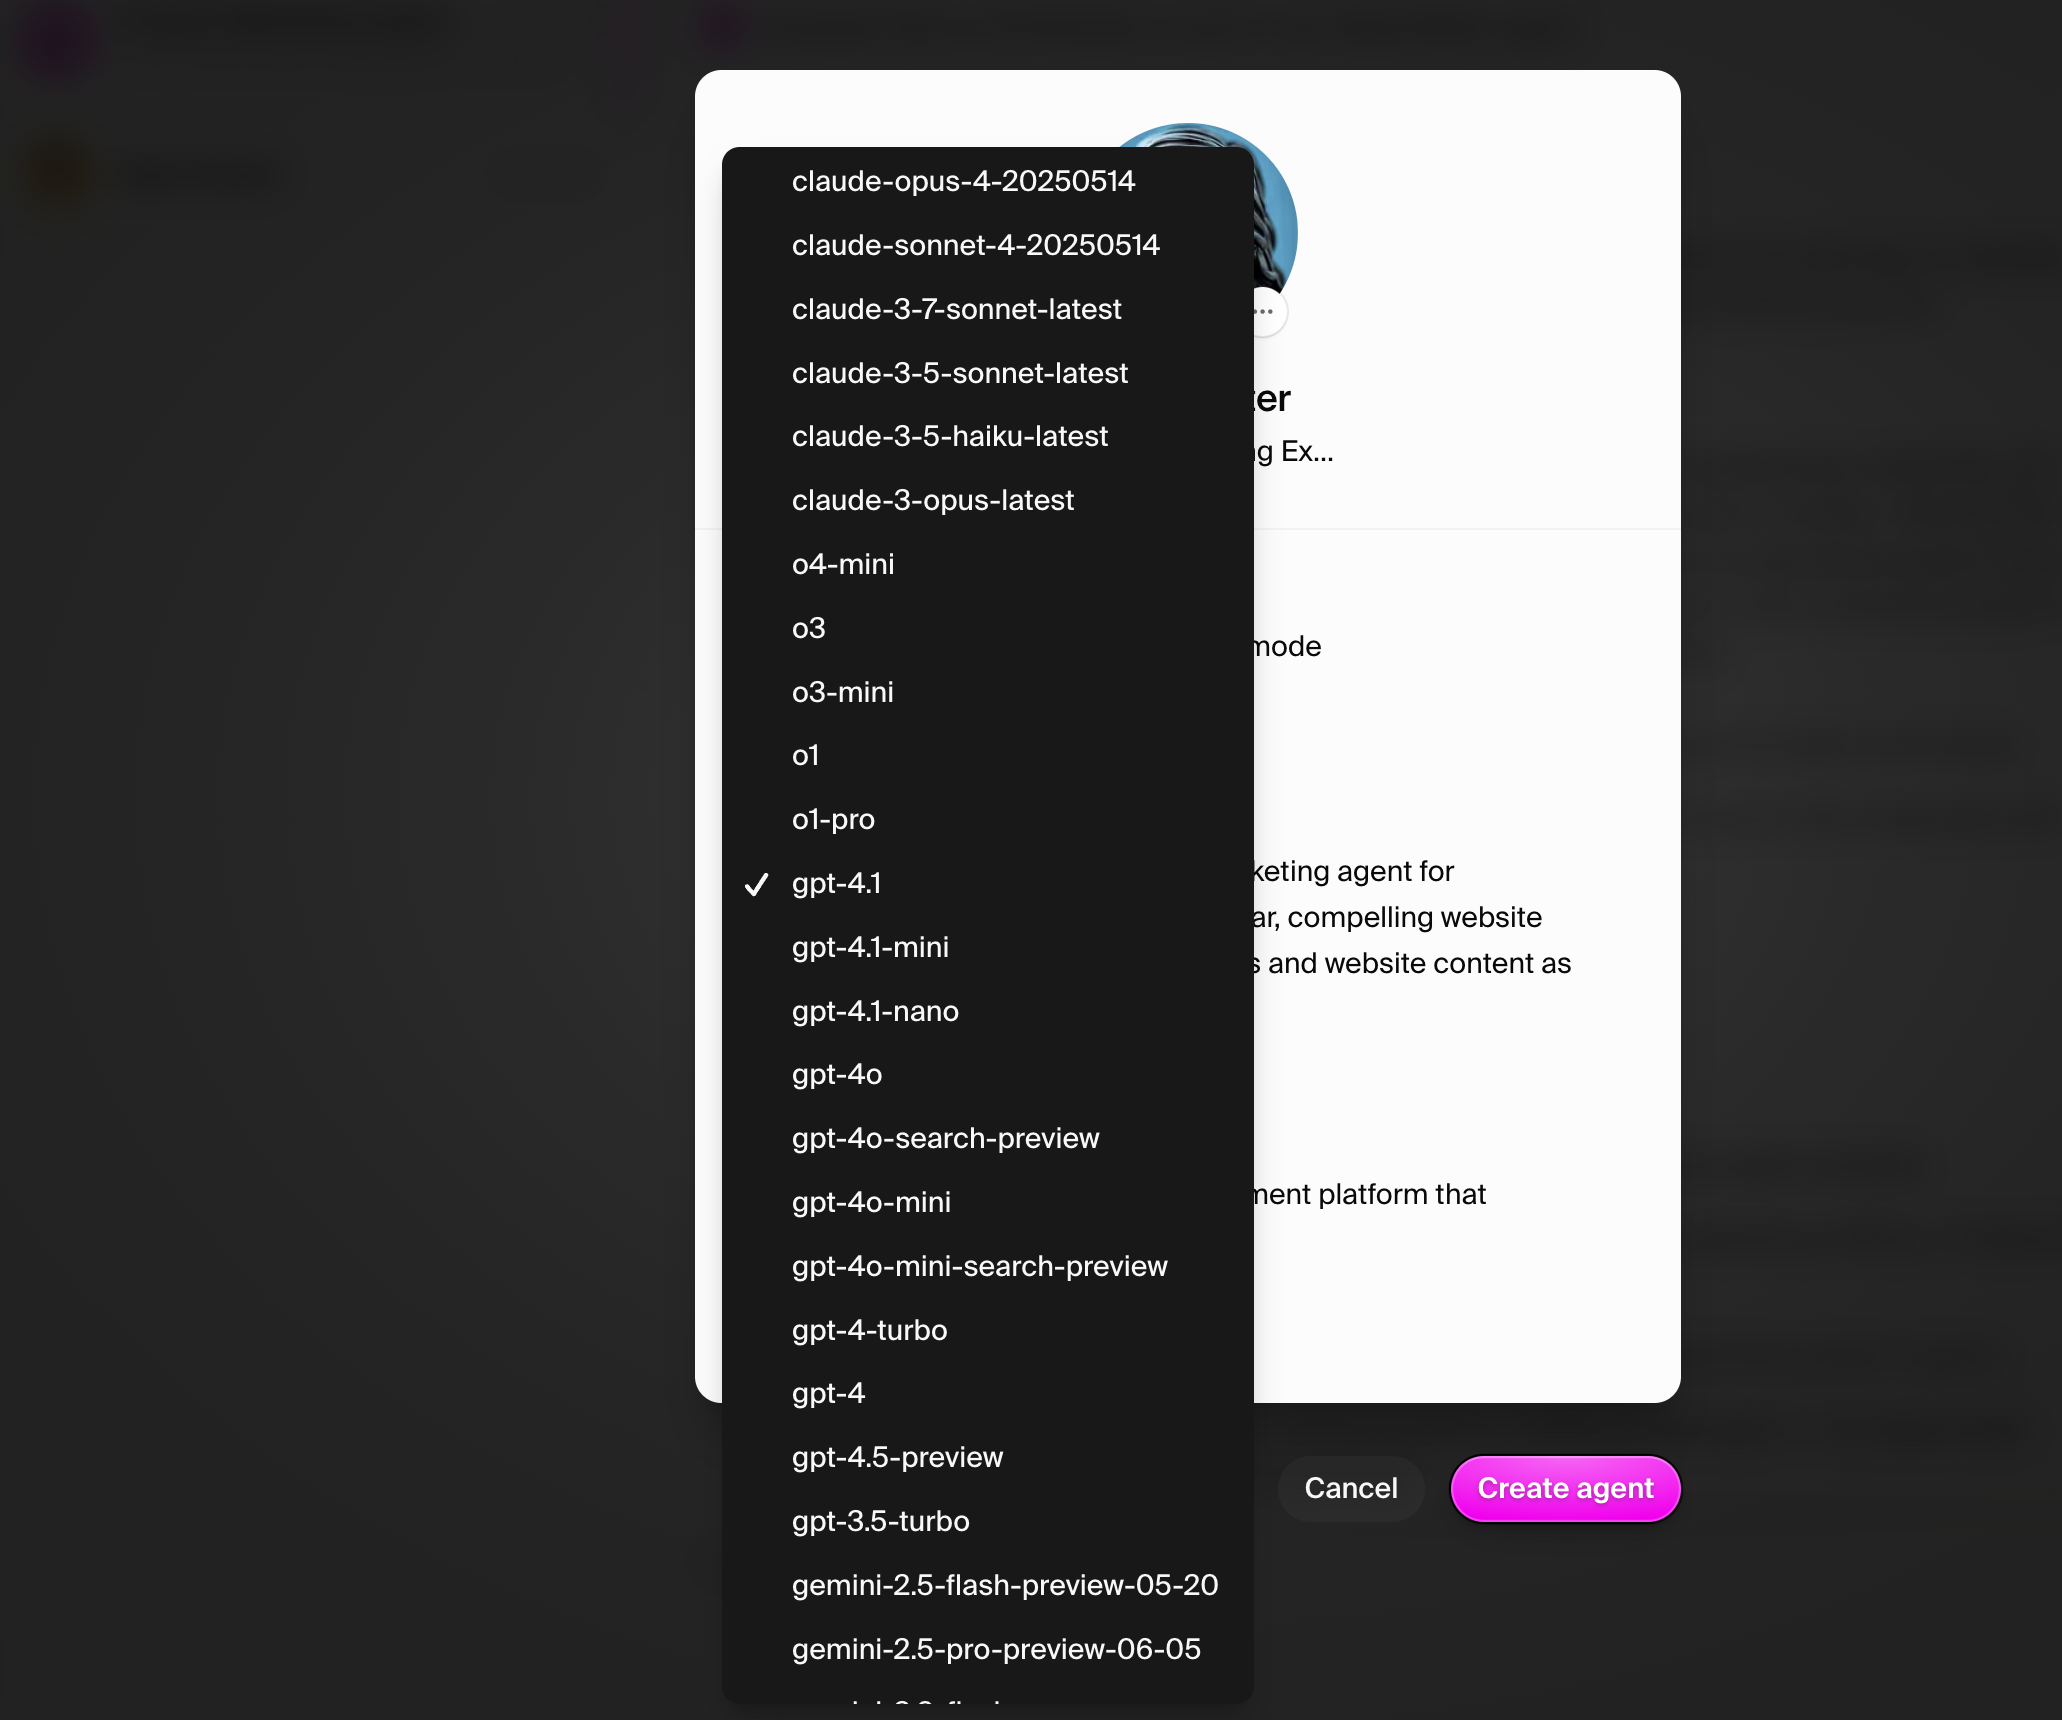
5
Enable connections and start working with your agent
Connections enable the agent to understand and act on its environment. Add the connections that your agent will need to perform its tasks.Select the Agents view from the left navigation bar. Here you’ll see the list of
all agents in your workspace. Select “Add connections” next to the agent you
just created.