Deploying Dgraph on Google Cloud Run
This guide walks you through deploying Dgraph, a distributed graph database, on Google Cloud Run.
Prerequisites
- Google Cloud Platform account with billing enabled
- Google Cloud SDK (
gcloud) installed and configured
- Docker installed locally
Architecture Overview
Dgraph consists of three main components:
- Alpha nodes: Store and serve data
- Zero nodes: Manage cluster metadata and coordinate transactions
- Ratel: Web UI for database administration (optional)
This example uses the Dgraph standalone Docker image which includes both the alpha and zero nodes in a single container.
Step 1: Project Setup
 First, set up your Google Cloud project and enable necessary APIs:
# Set your project ID
export PROJECT_ID="your-project-id"
gcloud config set project $PROJECT_ID

# Enable required APIs
gcloud services enable run.googleapis.com
gcloud services enable containerregistry.googleapis.com
gcloud services enable cloudbuild.googleapis.com
gcloud services enable file.googleapis.com
gcloud services enable vpcaccess.googleapis.com
gcloud filestore instances create dgraph-data \
  --zone=us-central1-a \
  --tier=BASIC_HDD \
  --file-share=name=dgraph,capacity=1GB \
  --network=name=default
# Create VPC connector for private network access
gcloud compute networks vpc-access connectors create dgraph-connector \
  --network default \
  --region us-central1 \
  --range 10.8.0.0/28 \
  --min-instances 2 \
  --max-instances 3
Step 2: Create Dgraph Configuration
Create a directory for your Dgraph deployment:
mkdir dgraph-cloudrun
cd dgraph-cloudrun
Dockerfile:
FROM dgraph/standalone:latest

# Create directories for data and config
RUN mkdir -p /dgraph/data /dgraph/config

# Copy configuration files
COPY dgraph-config.yml /dgraph/config

# Set working directory
WORKDIR /dgraph

# Expose the Dgraph ports
EXPOSE 8080 9080 8000

# Start Dgraph in standalone mode
ADD start.sh /
RUN chmod +x /start.sh

CMD ["/start.sh"]
dgraph-config.yml:
# Dgraph configuration for standalone deployment

datadir: /dgraph/data
bindall: true

# HTTP & GRPC ports
port_offset: 0
grpc_port: 9080
http_port: 8080

# Alpha configuration
alpha:
  lru_mb: 1024

# Security settings (adjust as needed)
whitelist: 0.0.0.0/0

# Logging
logtostderr: true
v: 2

# Performance tuning for cloud deployment
badger:
  compression: snappy
  numgoroutines: 8
start.sh:
#!/bin/bash

# Start Dgraph Zero
dgraph zero --tls use-system-ca=true --config /dgraph/config/dgraph-config.yml &

# Start Dgraph Alpha
dgraph alpha --tls use-system-ca=true --config /dgraph/config/dgraph-config.yml &

# Wait for all processes to finish
wait
Step 3: Build and Push Container Image
Build your Docker image and push it to Google Container Registry.
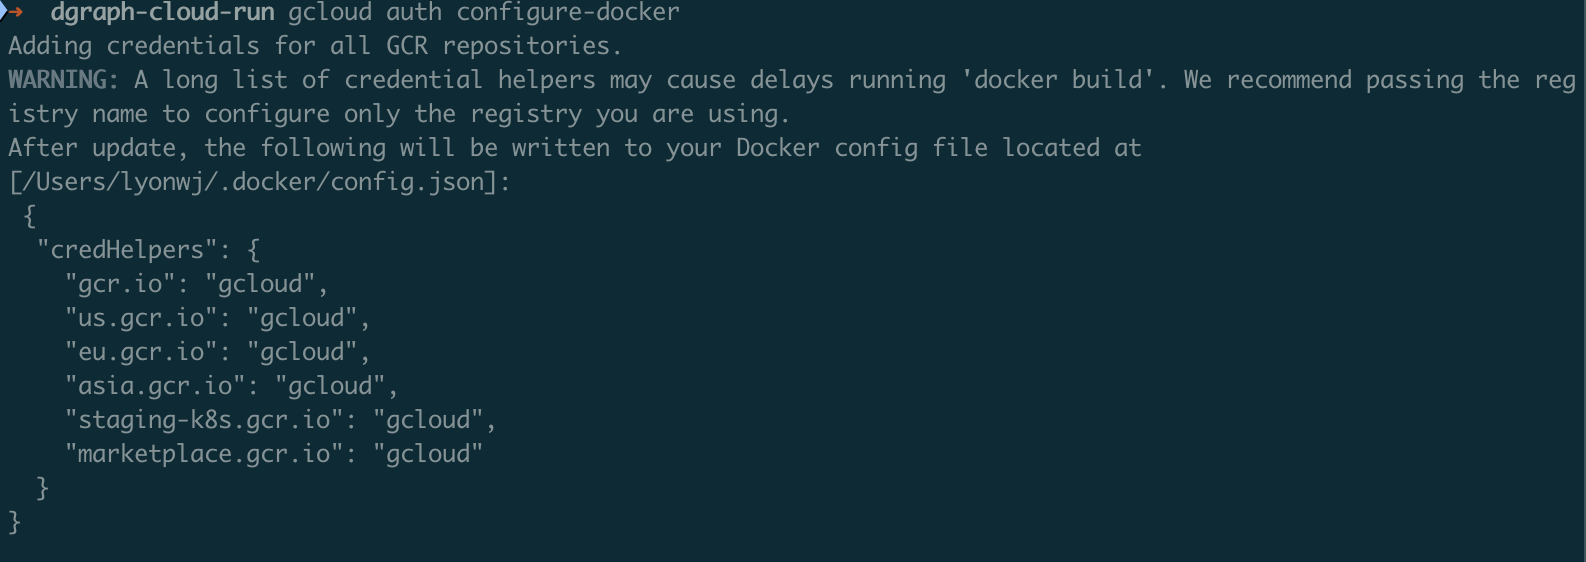
You’ll first need to authorize docker to use the gcloud credentials:
gcloud auth configure-docker
Note the use of --platform linux/amd64 flag, this is important when building the image on an Apple Silicon Mac.
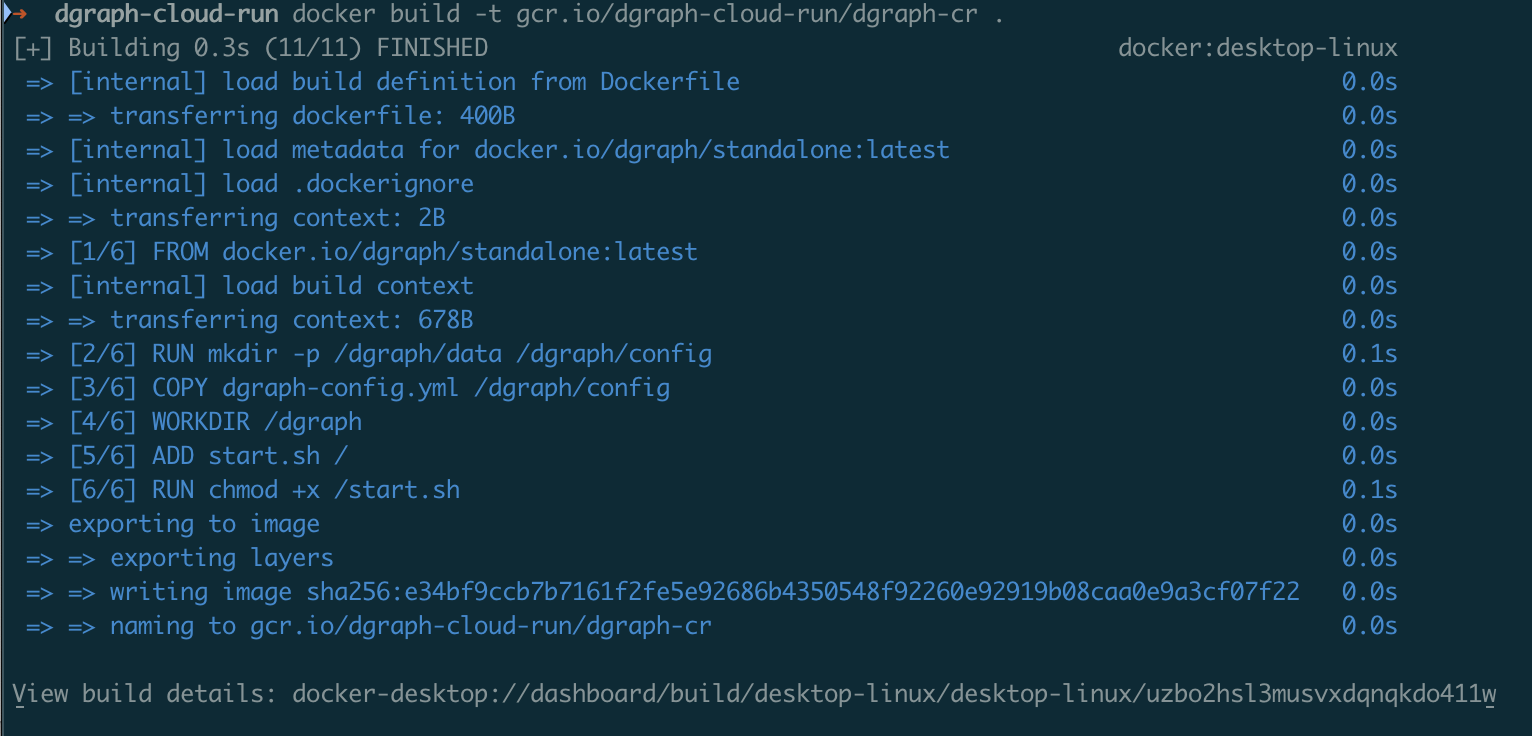
# Build the image
docker build --platform linux/amd64 -t gcr.io/$PROJECT_ID/dgraph-cr .
 Push the container to Google Container Registry
# Push to Google Container Registry
docker push gcr.io/$PROJECT_ID/dgraph-cr
Step 4: Deploy to Cloud Run
Deploy Dgraph Alpha to Cloud Run:
gcloud run deploy dgraph-cr \
  --image gcr.io/$PROJECT_ID/dgraph-cr \
  --platform managed \
  --region us-central1 \
  --allow-unauthenticated \
  --memory 4Gi \
  --cpu 2 \
  --vpc-connector dgraph-connector \
  --add-volume name=dgraph-storage,type=nfs,location=$FILESTORE_IP:/dgraph \
  --add-volume-mount volume=dgraph-storage,mount-path=/dgraph/data
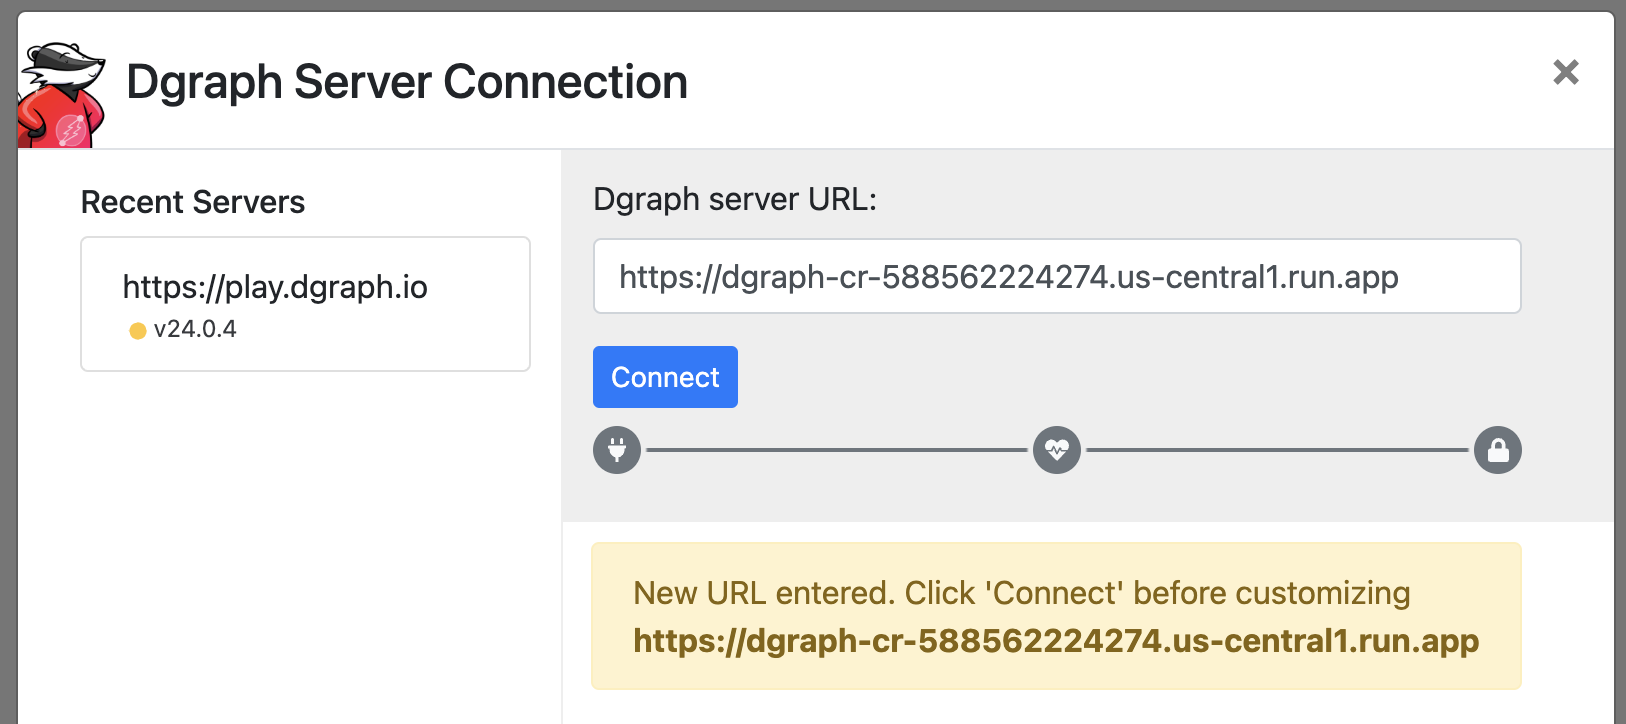
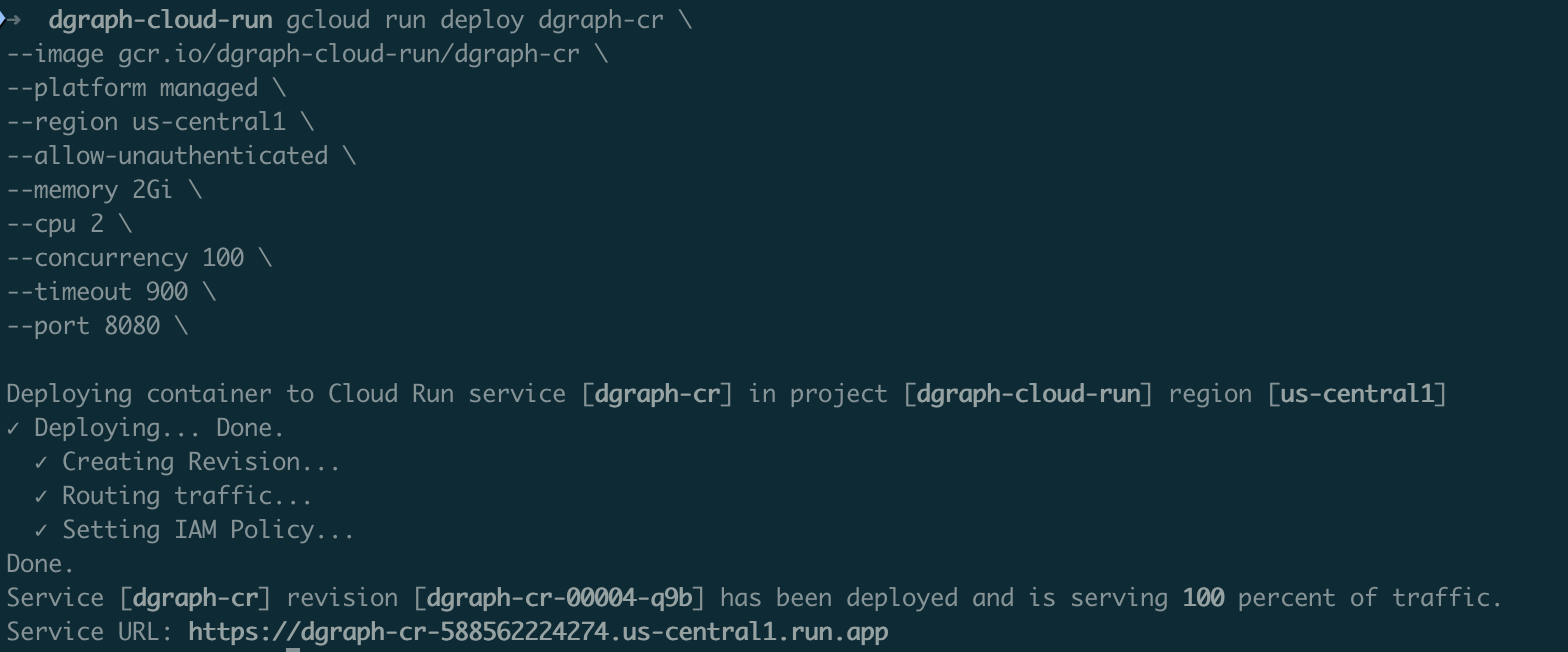 Our Dgraph instance is now available at
 https://dgraph-cr-<REVISION_ID>.us-central1.run.app
Note that we are binding Dgraph’s HTTP port 8080 to port 80
curl https://dgraph-cr-588562224274.us-central1.run.app/health
[{"instance":"alpha","address":"localhost:7080","status":"healthy","group":"1","version":"v24.1.4","uptime":1258,"lastEcho":1756412281,"ongoing":["opRollup"],"ee_features":["backup_restore","cdc"],"max_assigned":8}]
Ratel web UI can be run locally using docker run -it -p 8000:8000 dgraph/ratel:latest
Dgraph Cloud Migration Steps
To migrate from Dgraph Cloud to your self-hosted Cloud Run instance, follow these steps:
Migration Data
We’ve now downloaded the following files from Dgraph Cloud:
gql_schema.gz - your GraphQL schema exported from Dgraph Cloudschema.gz - your Dgraph schema export from Dgraph Cloudrdf.gz - your RDF data export from Dgraph Cloud
We’ll now migrate this data to our Dgraph instance running in Cloud Run.
Prepare Migration Environment
Create a local directory for migration files:
mkdir dgraph-migration
cd dgraph-migration

# Extract the compressed files
gunzip gql_schema.gz
gunzip schema.gz
gunzip rdf.gz

# Verify file contents
head -20 gql_schema
head -20 schema
head -20 rdf
Schema Migration
Option A: Load Schema Via Live Loader
dgraph live --schema schema \
  --alpha https://api.yourdomain.com:443 \
  --zero http://api.yourdomain.com:443
Option B: Load Schema Via HTTP API
curl -X POST https://api.yourdomain.com/admin/schema \
  -H "Content-Type: application/rdf" \
  --data-binary @schema
Option C: Load GraphQL Schema (if using GraphQL)
curl -X POST https://api.yourdomain.com/admin/schema/graphql \
  -H "Content-Type: text/plain" \
  --data-binary @gql_schema
Data Migration
Option A: Data Migration Using Live Loader
For large datasets, use the live loader for optimal performance:
dgraph live --files rdf \
  --alpha https://api.yourdomain.com:443 \
  --zero https://api.yourdomain.com:443 \
  --batch 1000 \
  --conc 10
Option B: Data Migration Using Bulk Loader (Offline)
For very large datasets, consider using the Dgraph bulk loader. This requires temporarily scaling down your Cloud Run instance:
Create Bulk Loader Container
Create bulk-loader.Dockerfile:
FROM dgraph/dgraph:latest

# Copy TLS certs and data
COPY tls/ /dgraph/tls
COPY rdf /data/rdf
COPY schema /data/schema

# Create output directory
RUN mkdir -p /data/out

WORKDIR /data

# Run bulk loader
CMD ["dgraph", "bulk", \
  "--files", "/data/rdf", \
  "--schema", "/data/schema", \
  "--out", "/data/out", \
  "--zero", "localhost:5080"]
# Build bulk loader image
docker build -f bulk-loader.Dockerfile -t gcr.io/$PROJECT_ID/dgraph-bulk-loader .
docker push gcr.io/$PROJECT_ID/dgraph-bulk-loader

# Scale down current Dgraph instance
gcloud run services update dgraph-alpha --min-instances=0 --max-instances=0 --region us-central1

# Run bulk loader as a job (this will process data offline)
gcloud run jobs create dgraph-bulk-load \
  --image gcr.io/$PROJECT_ID/dgraph-bulk-loader \
  --region us-central1 \
  --memory 8Gi \
  --cpu 4 \
  --max-retries 1 \
  --parallelism 1 \
  --task-timeout 7200

# Execute the bulk load job
gcloud run jobs execute dgraph-bulk-load --region us-central1
# Create a temporary VM to copy data
gcloud compute instances create dgraph-migration-vm \
  --zone us-central1-a \
  --machine-type n1-standard-2 \
  --image-family debian-11 \
  --image-project debian-cloud

# SSH into the VM and mount Filestore
gcloud compute ssh dgraph-migration-vm --zone us-central1-a

# On the VM:
sudo apt update && sudo apt install nfs-common -y
sudo mkdir -p /mnt/dgraph
sudo mount -t nfs $FILESTORE_IP:/dgraph /mnt/dgraph

# Copy bulk load output to Filestore
# (You'll need to copy the output from the bulk loader job)
sudo cp -r /path/to/bulk/output/* /mnt/dgraph/

# Restart Dgraph service
gcloud run services update dgraph-alpha --min-instances=1 --max-instances=3 --region us-central1
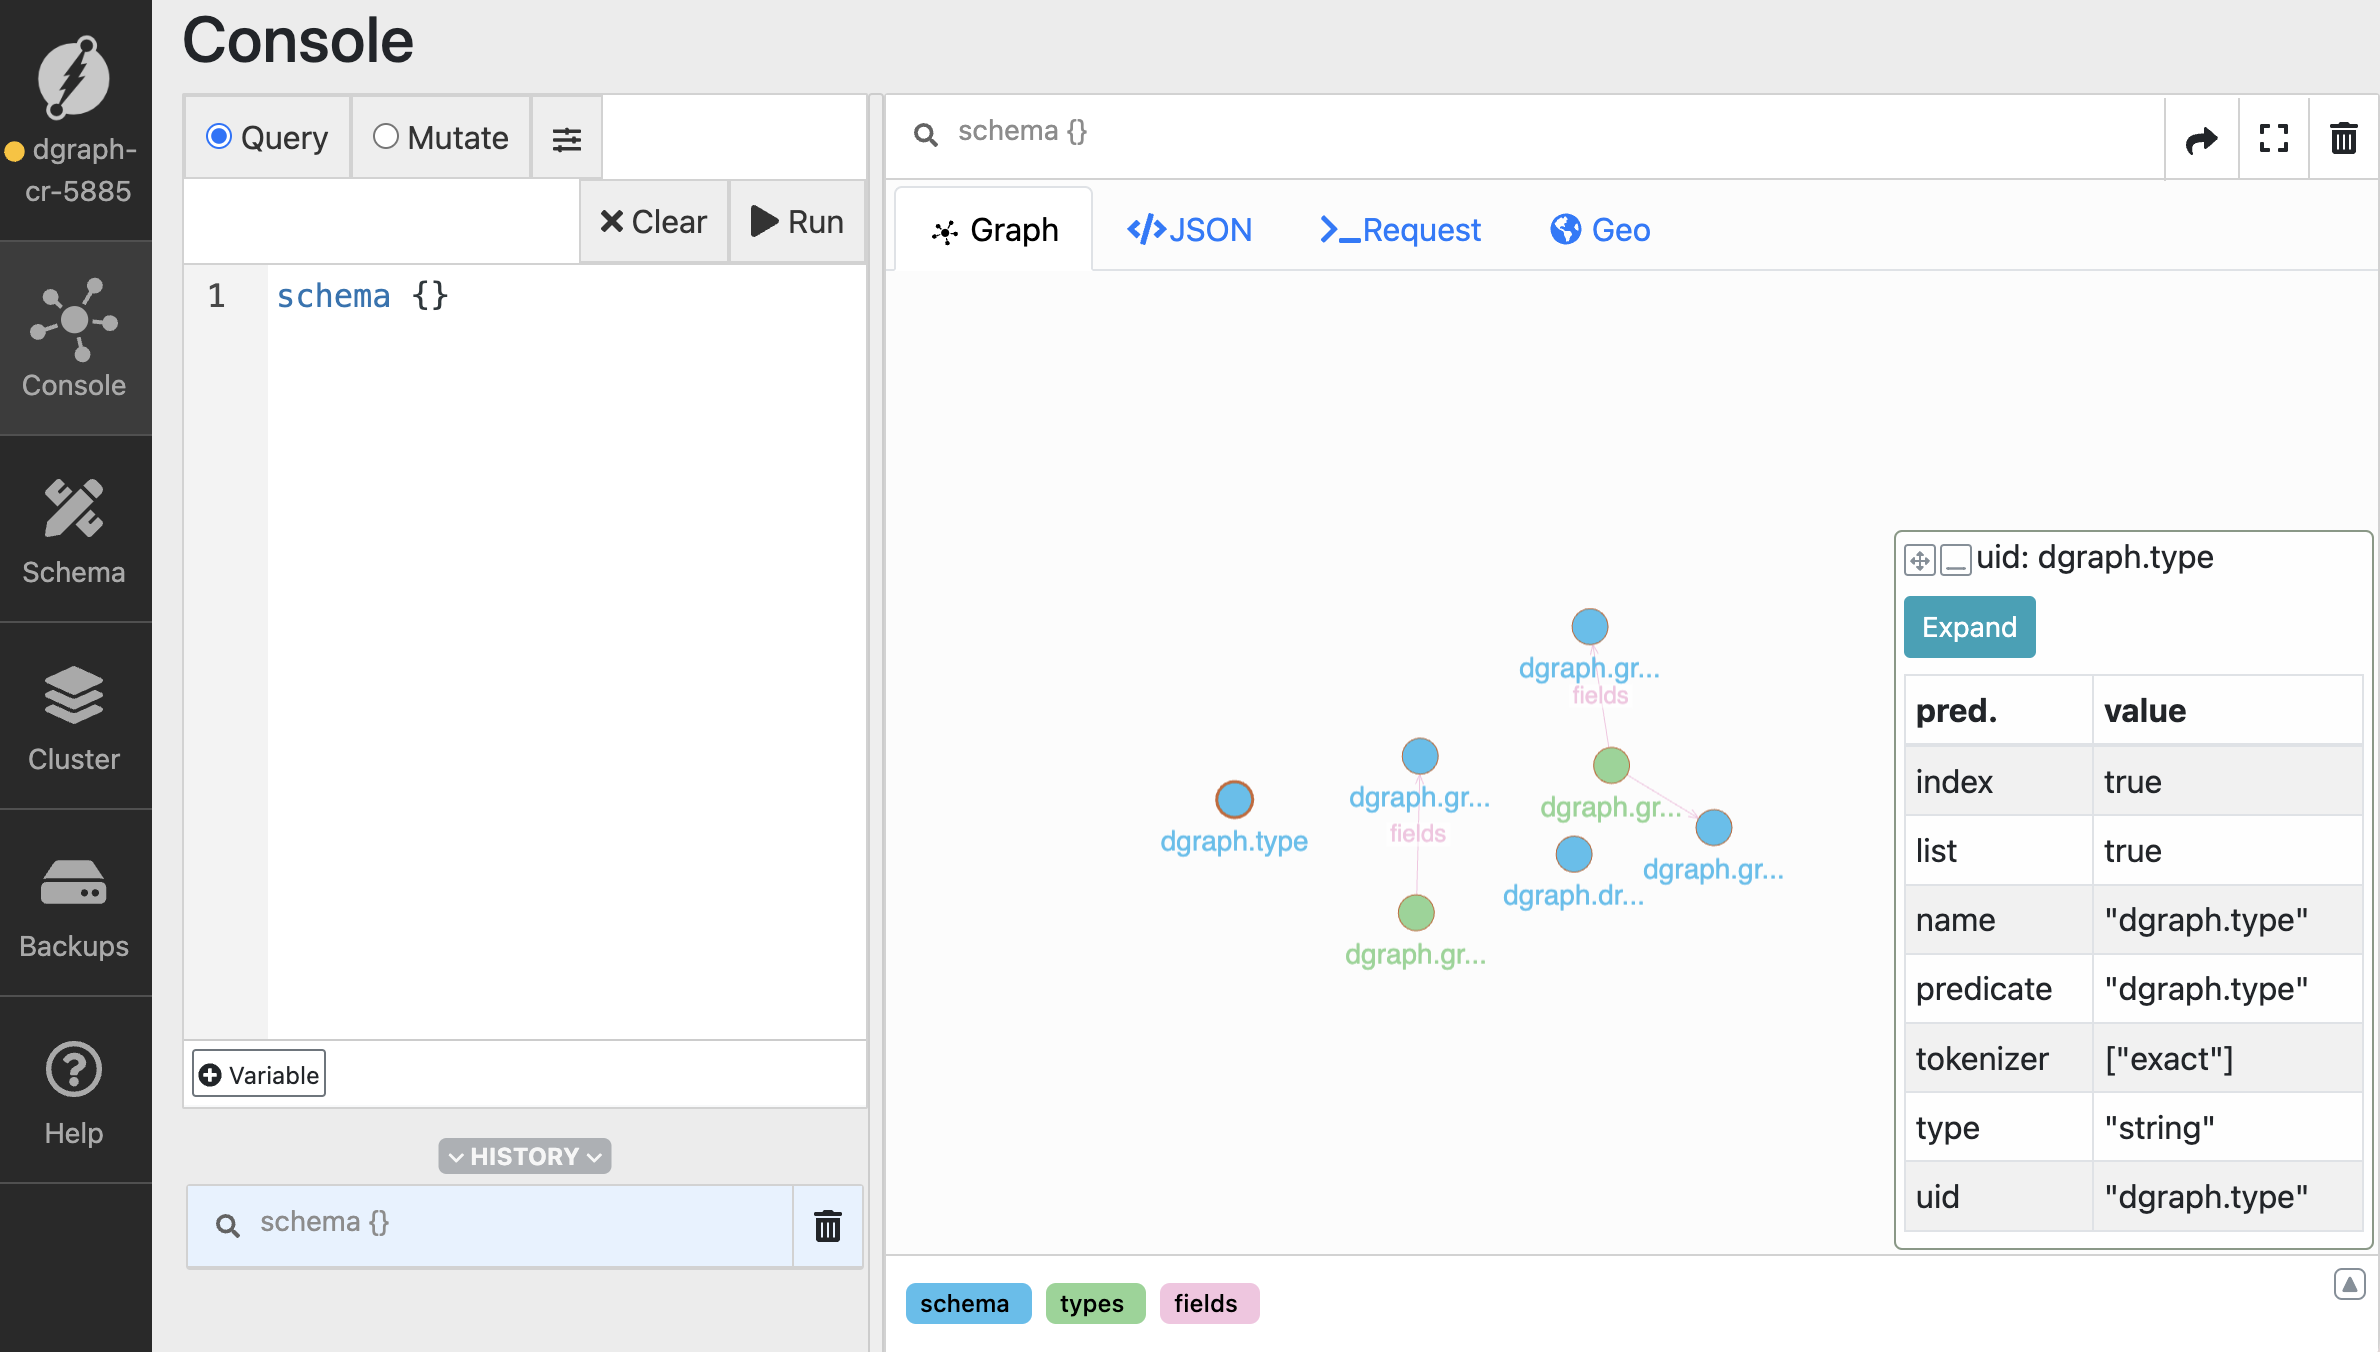
Validation and Testing
Schema Validation
curl -X POST https://api.yourdomain.com/query \
-H "Content-Type: application/json" \
-d '{"query": "schema {}"}'
Data Validation
# Check data counts
curl -X POST https://api.yourdomain.com/query \
  --cert tls/client.clientuser.crt \
  --key tls/client.clientuser.key \
  --cacert tls/ca.crt \
  -H "Content-Type: application/json" \
  -d '{"query": "{ nodeCount(func: has(dgraph.type)) }"}'

# Validate specific data samples
curl -X POST https://api.yourdomain.com/query \
  --cert tls/client.clientuser.crt \
  --key tls/client.clientuser.key \
  --cacert tls/ca.crt \
  -H "Content-Type: application/json" \
  -d '{"query": "{ sample(func: has(dgraph.type), first: 10) { uid expand(_all_) } }"}'
Migration Cleanup
# Clean up migration files
rm -rf dgraph-migration/

# Remove temporary bulk loader resources
gcloud run jobs delete dgraph-bulk-load --region us-central1

# Delete migration VM (if used)
gcloud compute instances delete dgraph-migration-vm --zone us-central1-a

# Update DNS to point to new instance (if needed)
# Update your application configuration to use new endpoint
Optional Configurations
Optimize Cloud Run Configuration
# Adjust resource allocation based on migrated data size
gcloud run services update dgraph-alpha \
  --memory 8Gi \
  --cpu 4 \
  --max-instances 5 \
  --region us-central1
Set up IAM and Security
Create a service account for Dgraph:
gcloud iam service-accounts create dgraph-service-account

gcloud projects add-iam-policy-binding $PROJECT_ID \
  --member="serviceAccount:dgraph-service-account@$PROJECT_ID.iam.gserviceaccount.com" \
  --role="roles/storage.admin"
# Add to your Dockerfile
COPY healthcheck.sh /usr/local/bin/
RUN chmod +x /usr/local/bin/healthcheck.sh
HEALTHCHECK --interval=30s --timeout=10s --start-period=40s --retries=3 \
  CMD /usr/local/bin/healthcheck.sh
healthcheck.sh:
#!/bin/bash
curl -f http://localhost:8080/health || exit 1
Testing Your Deployment
Once deployed, test your Dgraph instance:
# Get the Cloud Run service URL
SERVICE_URL=$(gcloud run services describe dgraph-cr --platform managed --region us-central1 --format 'value(status.url)')

# Test the health endpoint
curl $SERVICE_URL/health
Set Up Monitoring and Logging
Enable Cloud Monitoring for your Cloud Run service:
# Create an alert policy
gcloud alpha monitoring policies create --policy-from-file=alert-policy.yaml
alert-policy.yaml:
displayName: "Dgraph High Memory Usage"
conditions:
  - displayName: "Memory utilization"
    conditionThreshold:
      filter: 'resource.type="cloud_run_revision" resource.label.service_name="dgraph-alpha"'
      comparison: COMPARISON_GT
      thresholdValue: 0.8
Multi-Region Deployment
For high availability, deploy across multiple regions:
# Deploy to multiple regions
for region in us-central1 us-east1 europe-west1; do
  gcloud run deploy dgraph-rc-$region \
    --image gcr.io/$PROJECT_ID/dgraph-alpha \
    --platform managed \
    --region $region \
    --allow-unauthenticated
done
Troubleshooting
Common issues and solutions:
- Container startup fails: Check logs with
gcloud run services logs read dgraph-alpha
- Memory issues: Increase memory allocation or optimize queries
- Network connectivity: Verify VPC connector configuration
- Data persistence: Ensure proper volume mounting and permissions