We’re overhauling Dgraph’s docs to make them clearer and more approachable. If
you notice any issues during this transition or have suggestions, please
let us know.
This is part 5 of Building a To-Do List App.
Create Project
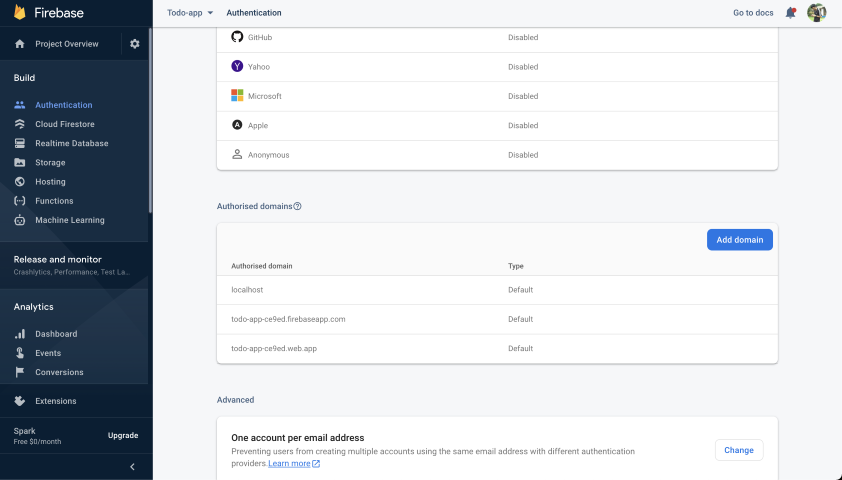
Let’s start by going to the Firebase console and create a new project (Todo-app). In the Authentication section, enableEmail/Password login. You can add a
custom domain to Authorized domains below according to where you want to
deploy your app. By default localhost is added to the list.
USER: email claim under the Namespace
https://dgraph.io/jwt/claims.
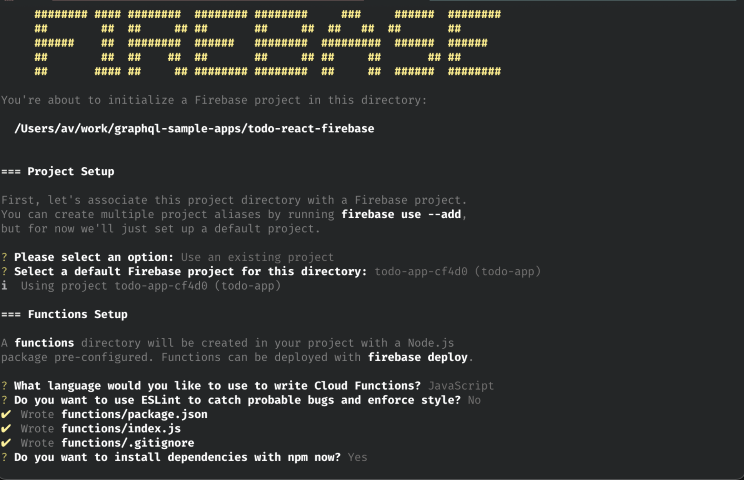
Using the Firebase CLI
Clone the Todo Firebase app repo and try to deploy the function to the Firebase project created above.- Install the Firebase CLI tool
npm install -g firebase-tools. - Login into Firebase from the CLI
firebase login. - Run
firebase init functionsthen select an existing project (that you created above). - Select language as
JavaScriptfor this example. - Replace
index.jswith the snippet above. - Deploy the function `firebase deploy —only functions.
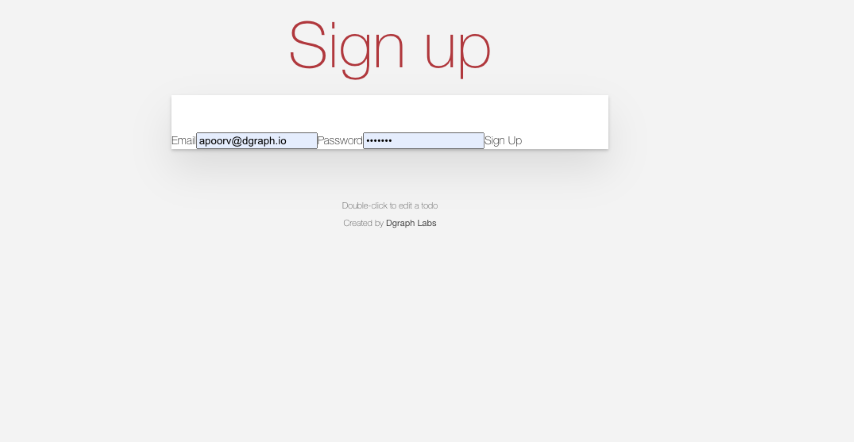
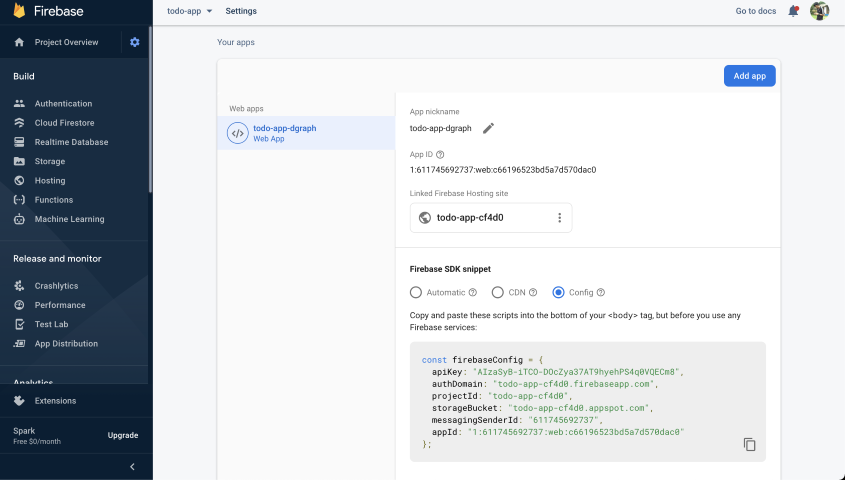
Create Webapp
Create a web app from your Firebase project settings page.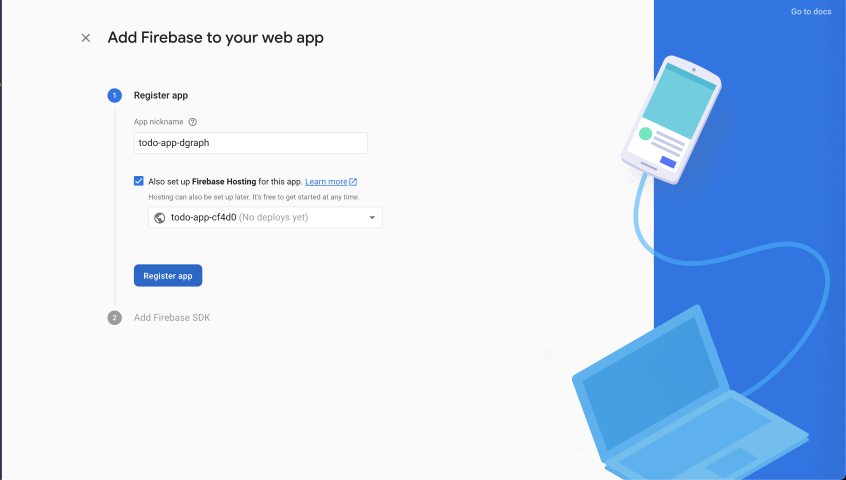
Dgraph Cloud endpoint in the
config.json.
It looks like this:
JWKURL, where the JSON Web
Key sets are hosted by Firebase. Since Firebase shares the JWKs among multiple
tenants, you must provide your Firebase project-Id to the Audience field. So
the Dgraph.Authorization header will look like this:
VerificationKey and Algo in the Authorization
header. Doing so will cause an error.
Update the
schema,
add the Authorization header (update the project-Id) -
React App
For an example of how to initialize the Firebase app with the updated configuration (config) settings, see
base.js.
state change,
currentUser will be set to the new user and context will return App with
the new idToken. App will initialize the Apollo Client which will send this
idToken in header along with every GraphQL request.