We’re overhauling Dgraph’s docs to make them clearer and more approachable. If
you notice any issues during this transition or have suggestions, please
let us know.
GraphQL fragments
In this part of the tutorial, you’ll add the ability to add a post. That’s anaddPost mutation, and a GraphQL mutation can return data, just like a query.
In this case, it makes sense to have the addPost mutation return the same data
as the allPosts query, because the UI should adjust to insert the new post
into the home page’s post list. GraphQL has a nice mechanism called fragments
to allow this type of reuse.
In the previous section, you added the allPosts query like this:
allPosts in the src/components/operations.graphql file as
follows:
...postData says “take the postData fragment and use it here”.
GraphQL mutations
With a fragment setup for the return data, the mutation to add a post can use exactly the same result data. Add the following definition tosrc/components/operations.graphql to add the
mutation that lets users add a post:
AddPostInput input type.
TypeScript, and GraphQL Code Generator will make sure you provide an input of
the correct type. This mutation returns data of the same shape as the allPosts
query; you’ll see why that’s important when using the Apollo cache.
Run the following command to tell the GraphQL Code Generator to generate a React
hook, useAddPostMutation, that extracts the component logic of this mutation
into a reusable function:
addPost({ variables: ... }) executes the mutation
with the passed-in post data, and after the GraphQL mutation returns, the
callback functions are executed.
Apollo cache
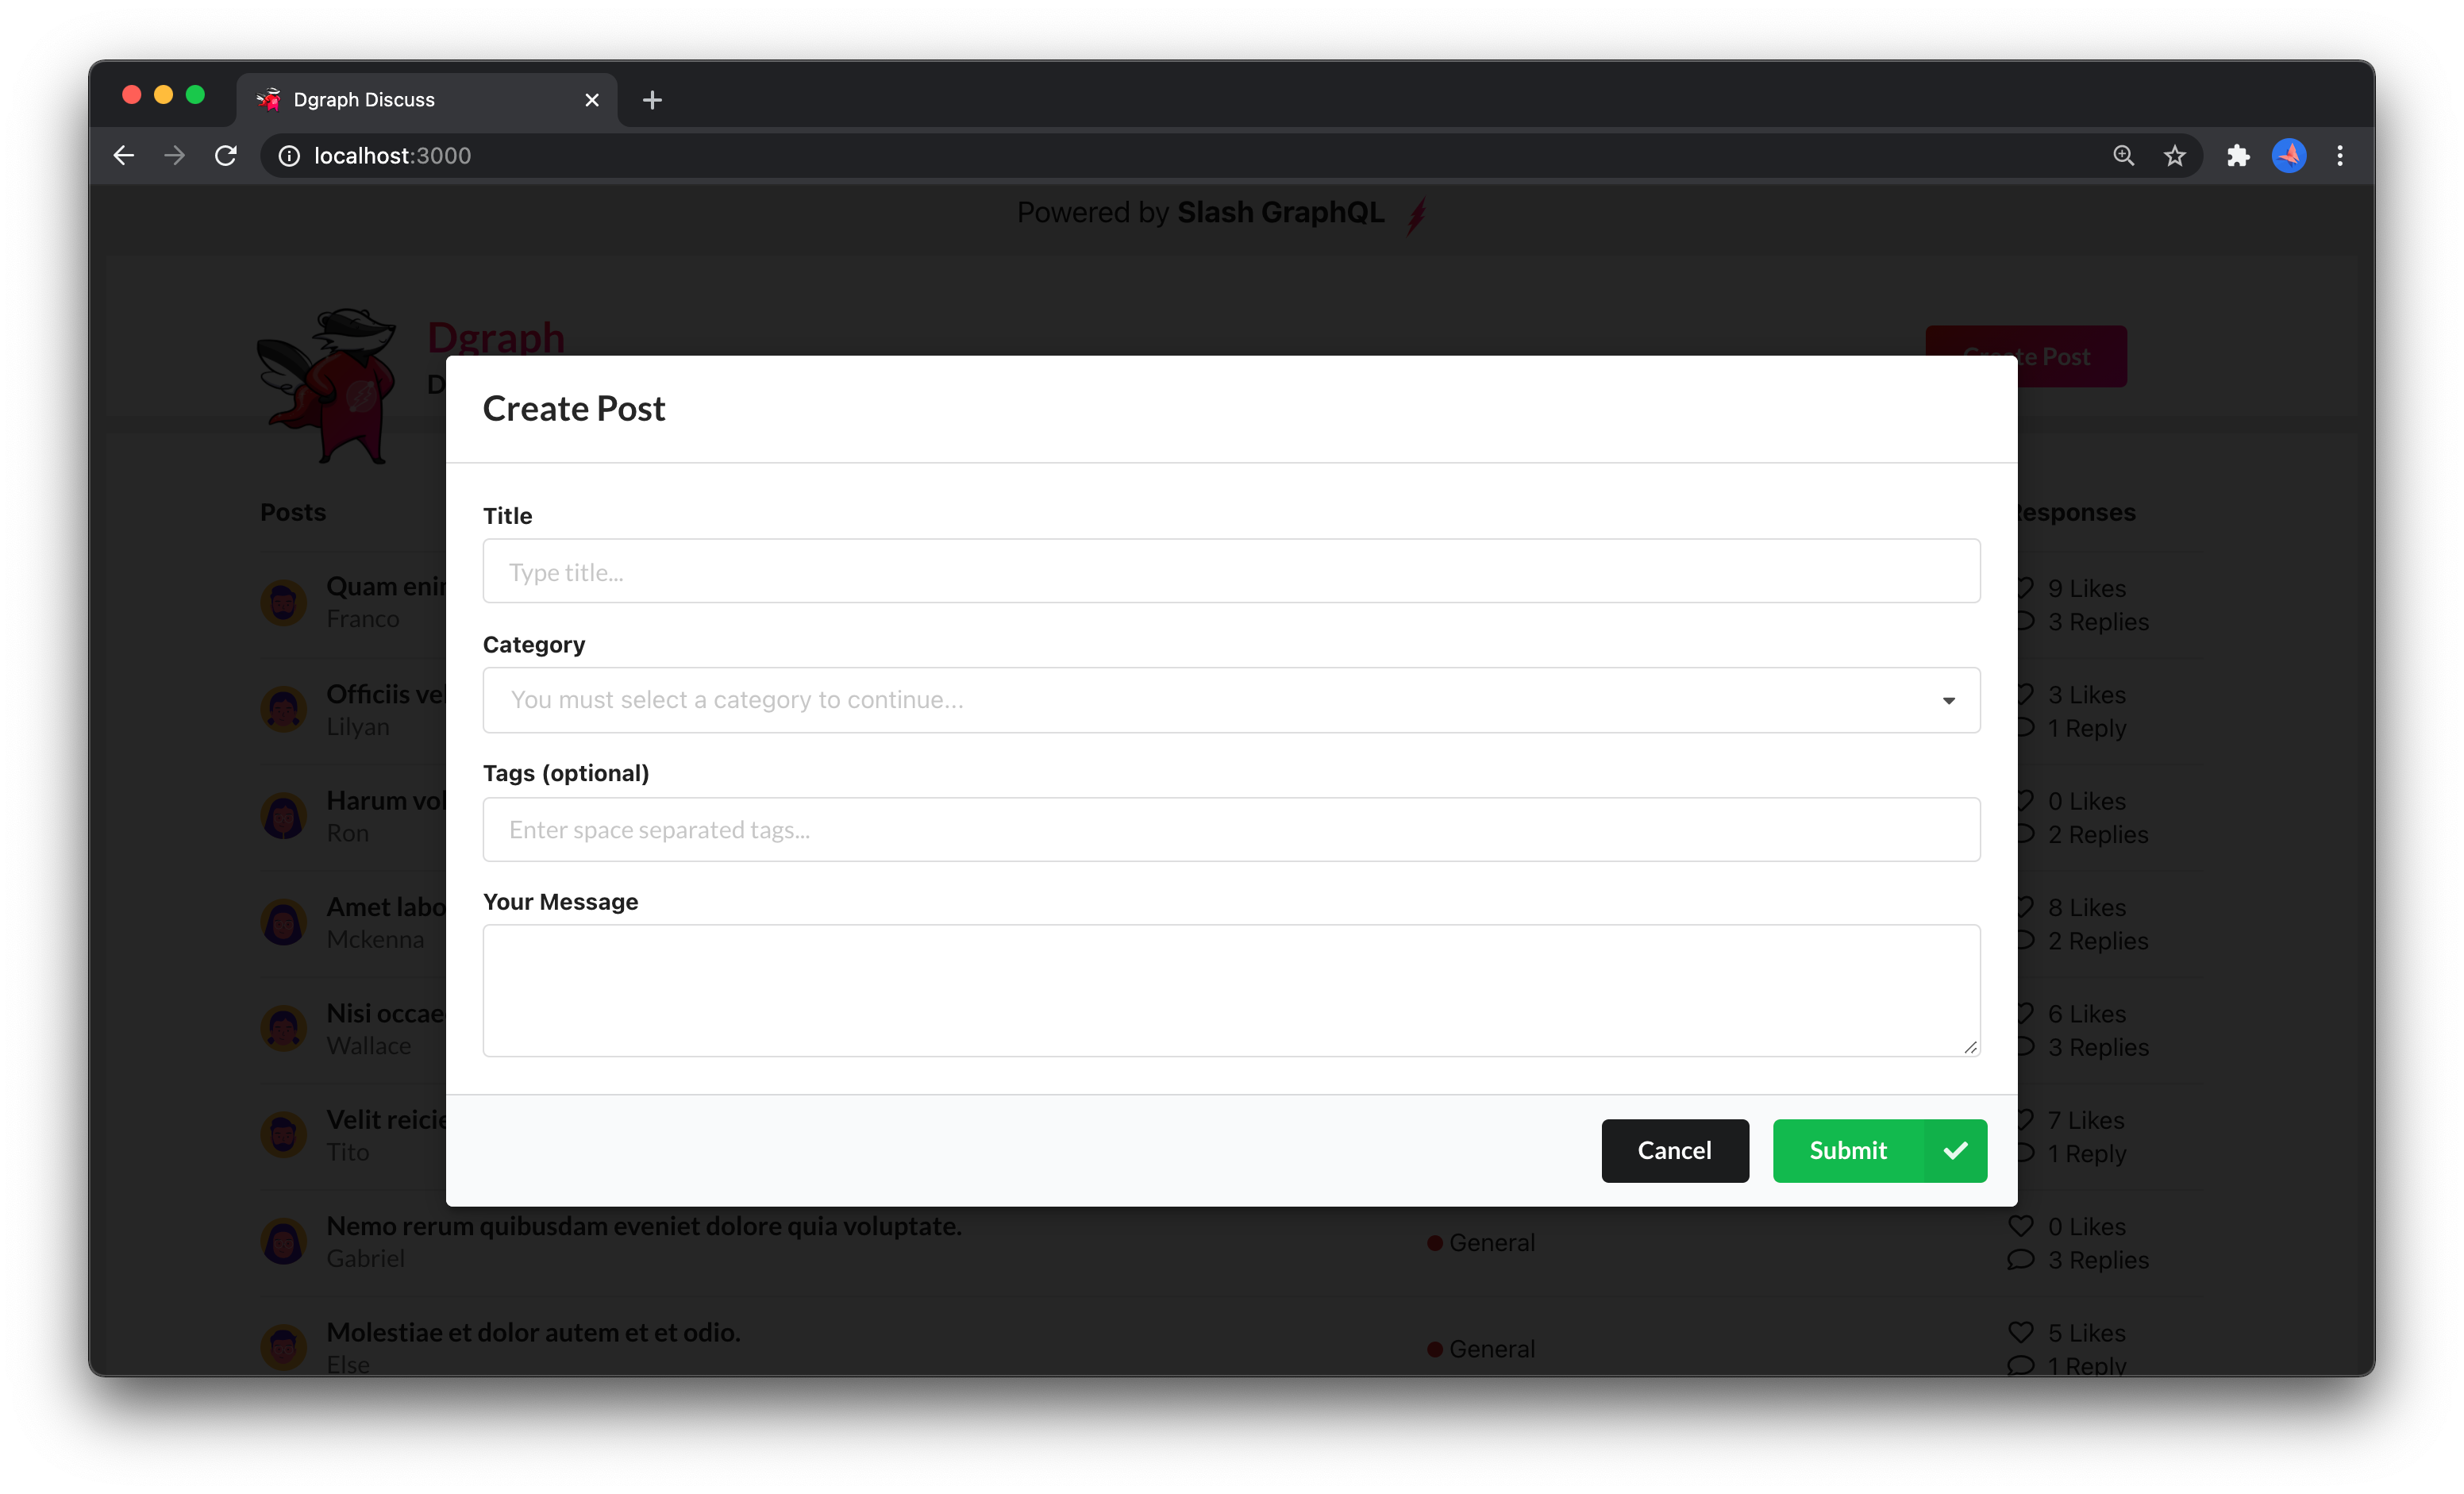
As well as GraphQL support, the Apollo Client library also provides state management, using the Apollo Cache. You can follow the flow of adding a new post, as follows: The user is on the home (post list) page. There, they press a button to create a post, which brings up a modal UI component (sometimes called a modal dialog) to enter the post data. The user fills in the details of the post, and then the mutation is submitted when they press Submit. This results in a new post, but how does that new post get into the list of posts? One option is to force a reload of the whole page, but that’ll force all components to reload and probably won’t be a great user experience. Another option is to just force reloading of theallPosts query, as follows:
- Clicking Submit on the new post sends data to the server, and the UI waits for that to complete (one round trip)
- This then triggers execution of the
allPostsquery to execute (a second round trip)
allPosts query is re-executed, it changes the data value of
const { data, loading, error } = useAllPostsQuery() in the post list
component, and React re-renders that component.
Again, this works, but it could be more efficient: The UI actually already has
all of the data it needs to render the updated UI after the first round trip,
because the new post on the server is only going to be the post that was added
by the mutation. So, to avoid a trip to the server, you can manually update
Apollo’s view of the result of the allPosts query and force the re-render,
without round-tripping to the server. That’s done by editing the cached value,
as follows:
addPost function to run the addPost mutation, and on
completion inserts the new post into the cache.
Layout for the mutation
All the logic for adding a post will be in the app header:src/component/header.tsx. This logic adds a button that shows a modal to add
the post. The visibility of the modal is controlled by React state, set up
through the useState hook, as follows:
addPost function, as follows:
src/component/header.tsx file looks as follows:
This Step in GitHub
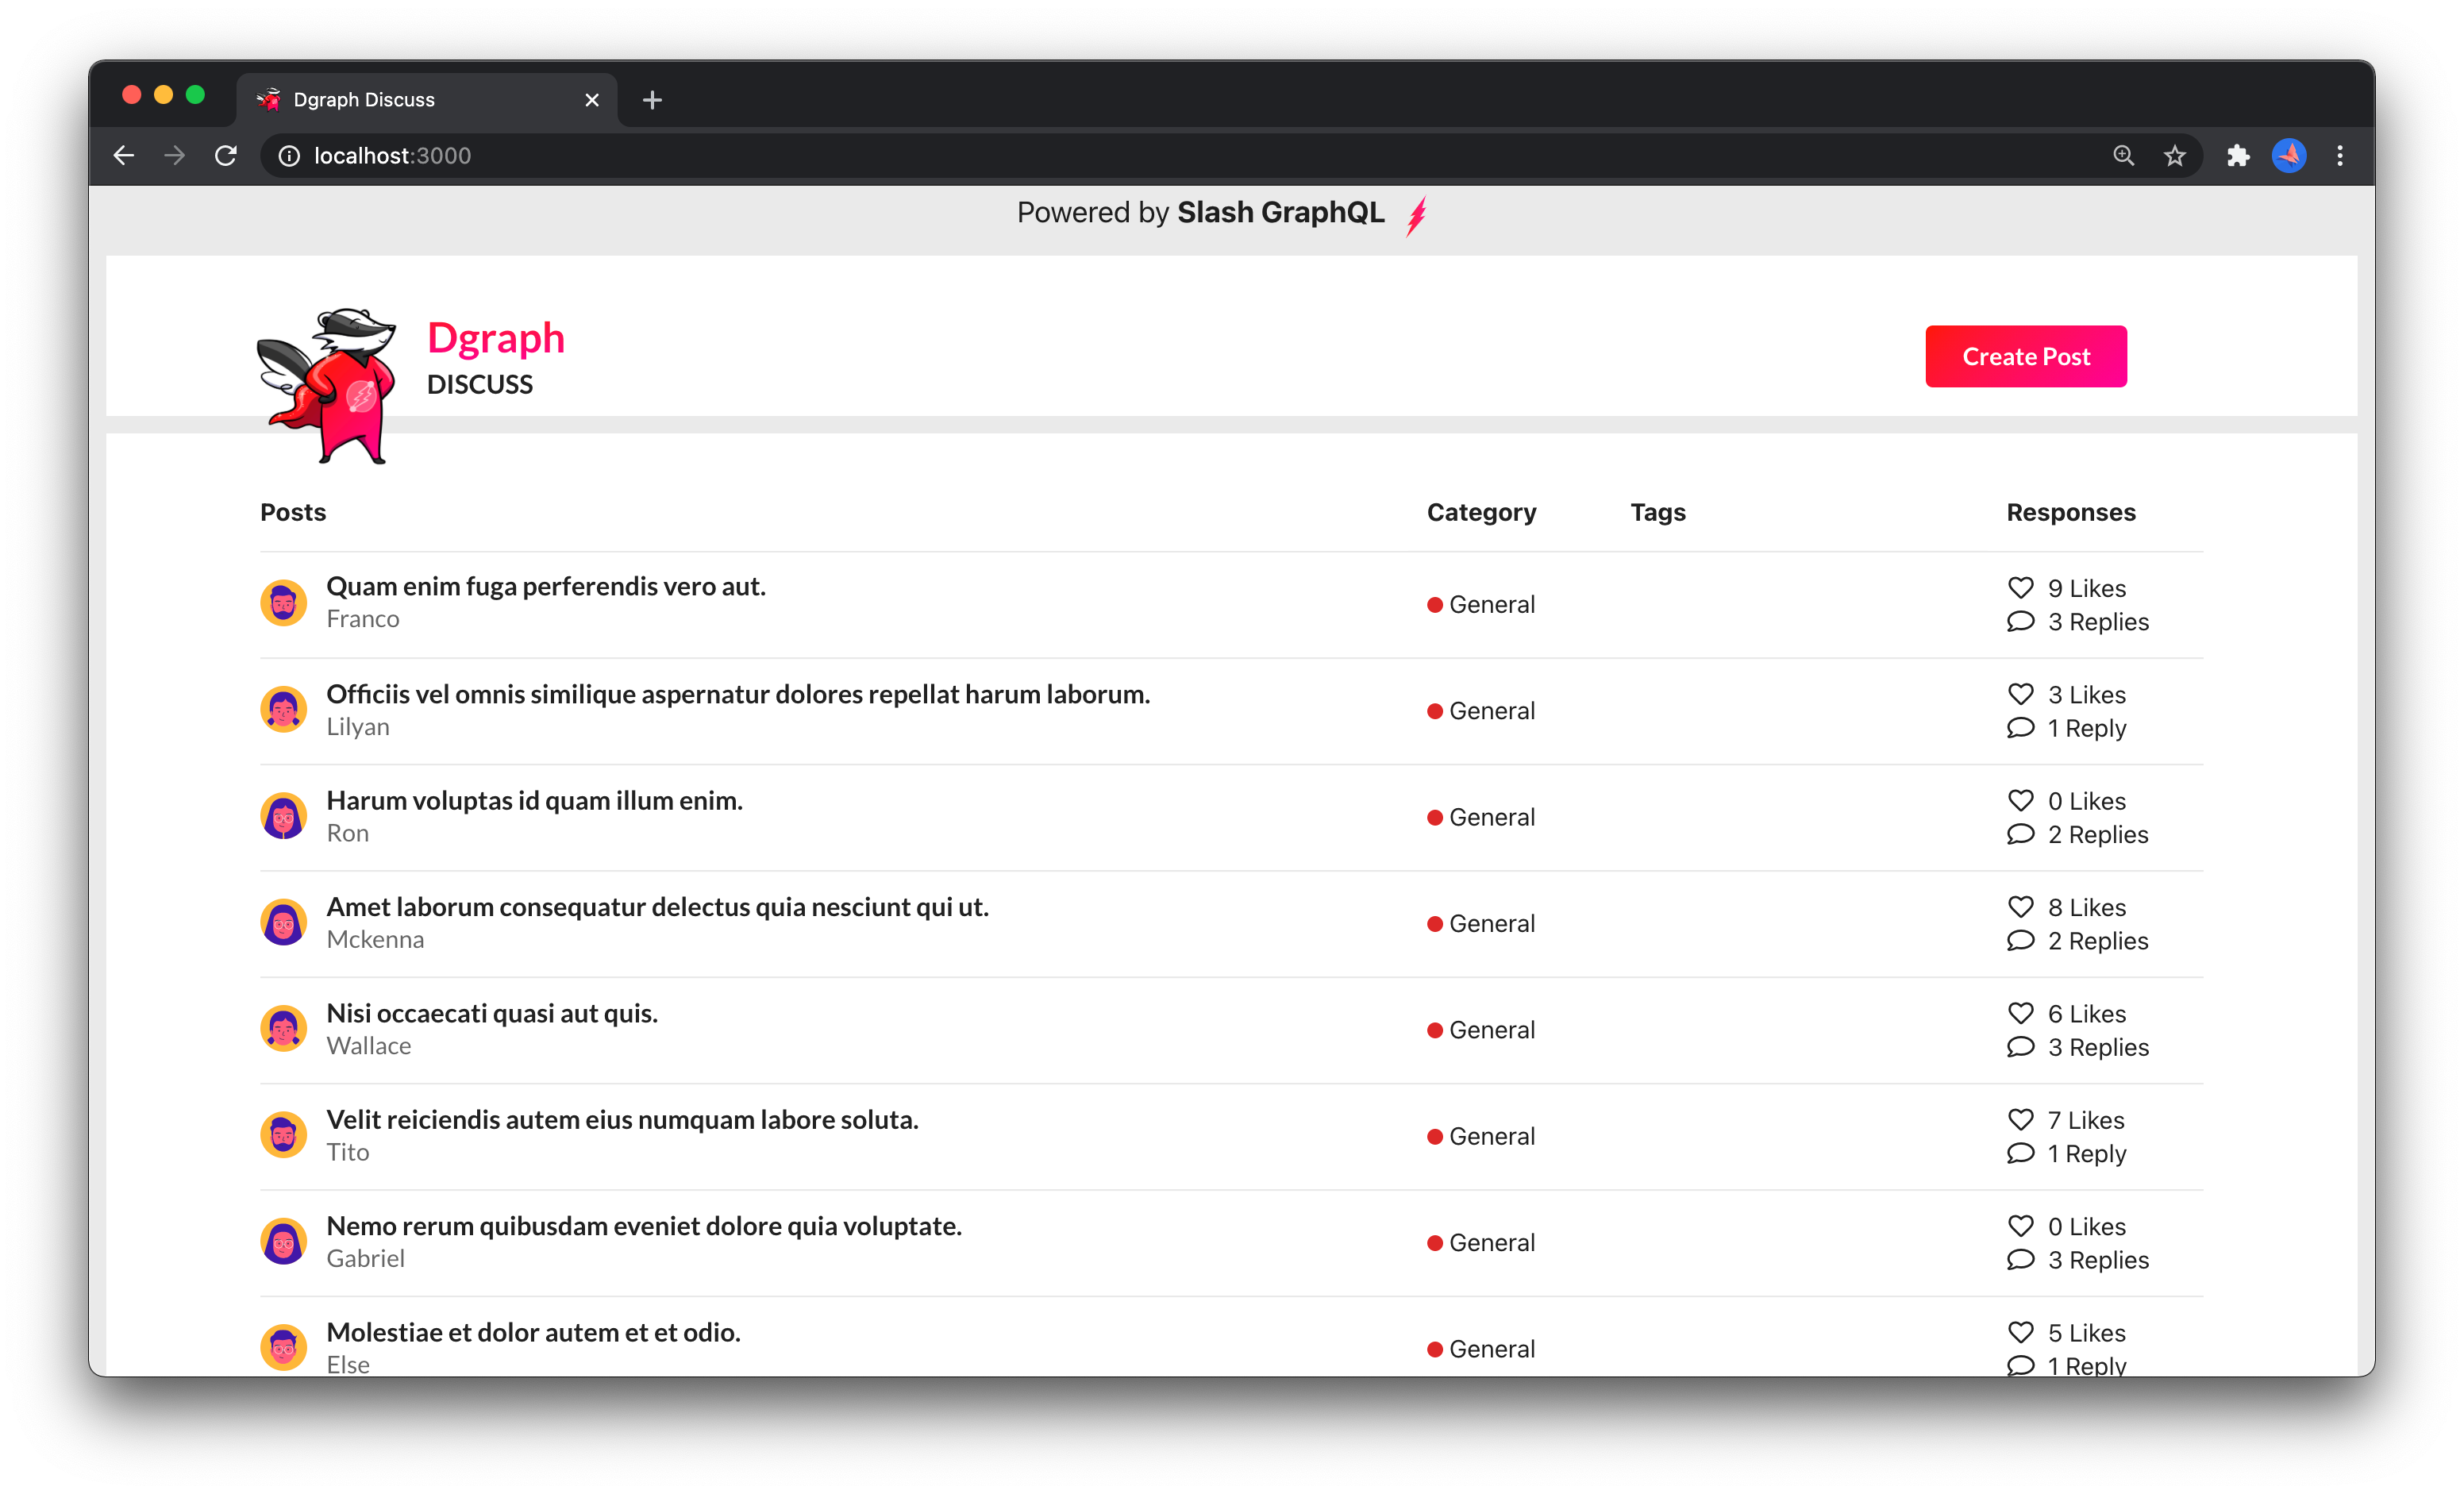
This step is also available in the tutorial GitHub repo with the graphql-mutations tag and is this code diff. You can run the app using theyarn start command, and then navigate to
http://localhost:3000 to see the post list on the home screen. Then, you can
click Create Post to add a new post to the backend GraphQL database. After
submitting the post, you’ll see it in the post list.
The user the post is added for is hard-coded in this step (to “TestUser”).
We’re just about there. Let’s wrap up what we’ve learned.